


Create a PDF Fillable Form
In certain units, a form is a necessary document that is required from students. With the latest technology, there is now an option to create a PDF Fillable Form which can be accessed by students within VU Collaborate, eliminating the need for lecturers to print hard copies whilst allowing students to download, complete and submit their forms into VU Collaborate. All staff members within Victoria University have access to the Adobe Creative Cloud which provides access to Adobe applications. To set up your account or for more information please reach out to the ITS department via email:This email address is being protected from spambots. You need JavaScript enabled to view it. or telephone: 9919 2777.
You will need to have access to the Adobe Creative Cloud to successfully follow this guide.
Follow the steps below to begin creating a PDF Fillable Form:
- Create a Form using Microsoft Word
- Convert a Microsoft Word Document into a PDF Fillable Form
- Edit a PDF Fillable Form
- Distribute a PDF Fillable Form via Email
- Distribute a PDF Fillable Form via VU Collaborate
It is vital to note that only copyright free materials such as creative commons licensed materials, OER or VU owned materials are uploaded. Check copyright terms and conditions before uploading anything, especially PDF files retrieved from VU licensed databases as there is an increased risk of copyright infringements occurring. For further support and information on your copyright responsibilities read through the Copyright for teaching at VU Library Help Guide.
Step One: Create a Form using Microsoft Word
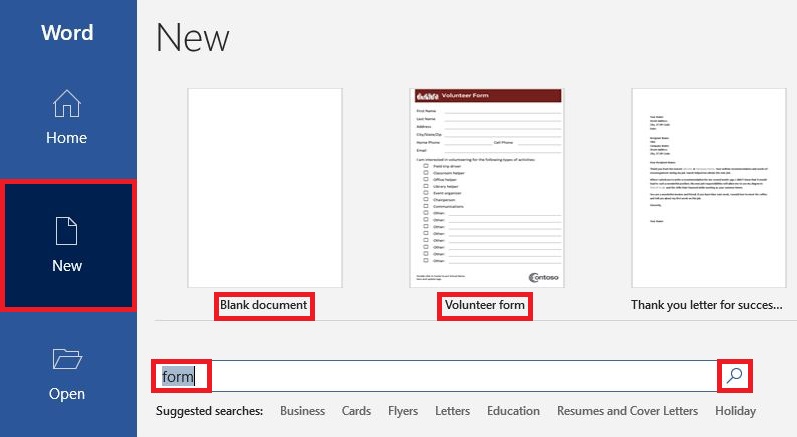
1. Open Microsoft Word and select New. To create a form from scratch, select Blank document. To create a form using a template, simply type the word form into the search bar and select from the options. Templates also allow you to update the logo to reflect your institution or organisation.
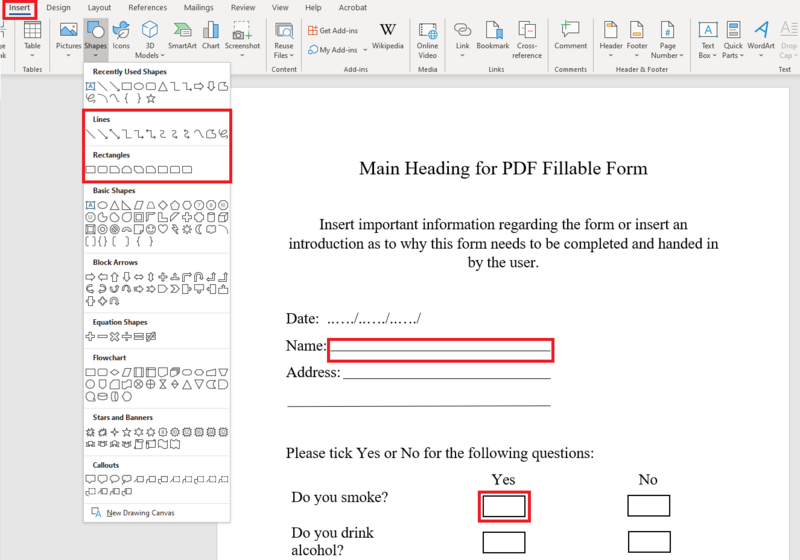
2. After every question an answer field must be created. To create an answer field, select the Insert tab located on the top left hand-side of the screen and select Shapes. The type of shape used will depend on the type of question, for example: If you require a text response then select a line and use that shape to mark out how much space you would like to provide the user. If you require the user to tick a check box then select a rectangle to represent a check box option.
Use this time to also ensure the document is aligned correctly, as this will save you time when it comes to the final edit.
3. Once the form has been completed, select File and from the list of options select Save.
Step Two: Convert a Microsoft Word Document into a PDF Fillable Form
1. Open the Adobe Creative Cloud application on your computer.
![]()
For more information on how to download and access the Adobe Creative Cloud please contact the ITS department via email: This email address is being protected from spambots. You need JavaScript enabled to view it. or telephone: 9919 2777.
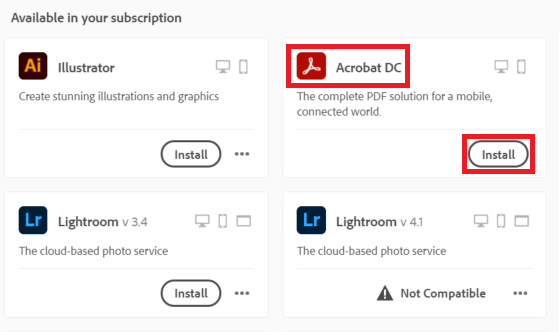
2. From the list of applications select Acrobat DC. If this is your first time accessing this application, then you will need to select the Install option.
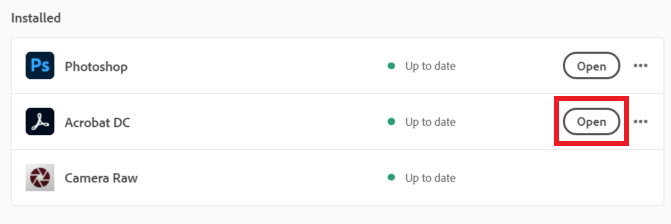
3. Once the application has been installed, you will see the application listed under the Installed heading. Select Open.
4. Acrobat DC will now open in a separate window. On the top left-hand-side select the Tools tab.
![]()
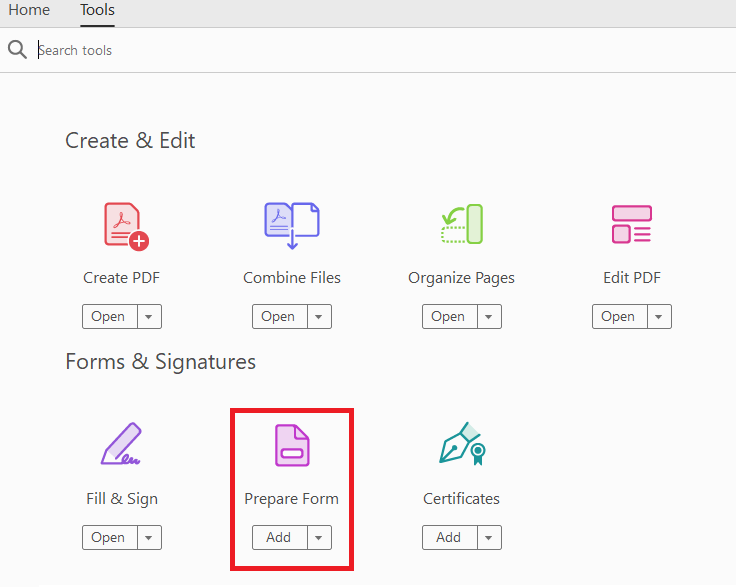
5. From the list of options, select Prepare Form.
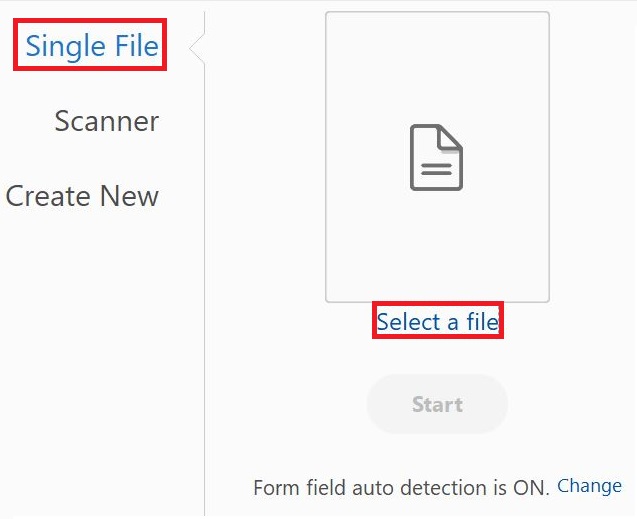
6. You will now be prompted to select from the following options:
- Single File: Select a saved document from the computer.
- Scanner: Scan a document.
- Create New: Start a new document from scratch.
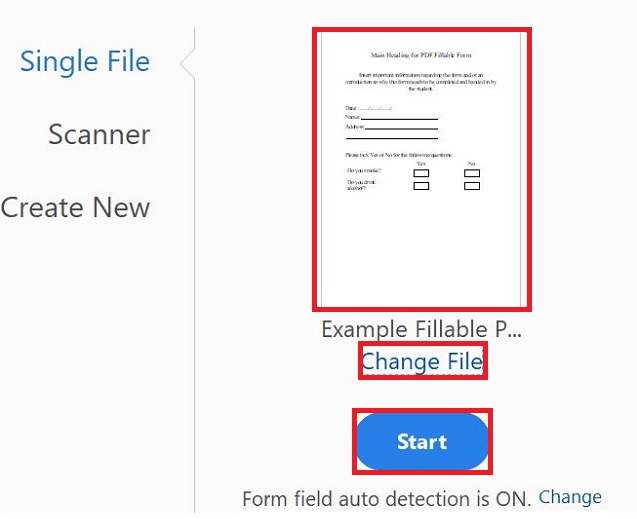
As we will be working from a saved document, select Single File and click on Select a file. This will prompt you to locate your file. Once you have located the file, select Open. A preview of the file will appear. If this is the correct file, select Start. If the wrong file was selected simply select Change File and search your saved documents.
The document will now open as a PDF converted version.
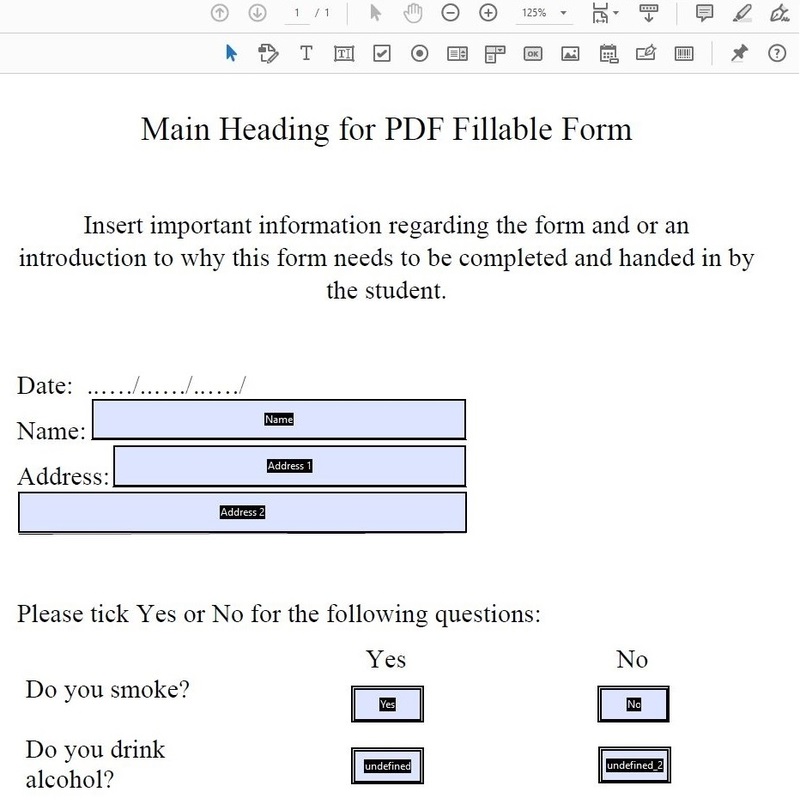
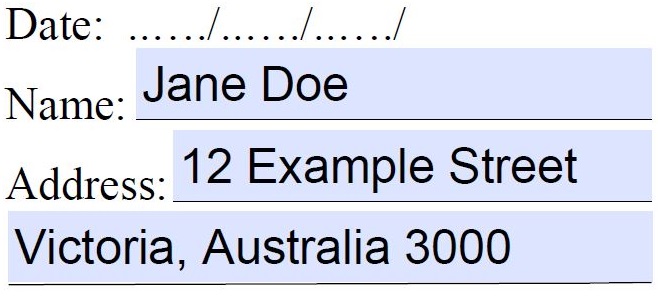
7. Prior to saving the document, it is recommended to not only preview the form but to also attempt completing the questions. This will allow you to test the features and ensure the form is set up correctly. To do this, select the Preview button located on the top right hand-side of the screen.

8. If the form is set up correctly and does not require any further changes, select the File tab on the left hand-side and select Save. For information regarding how to distribute the electronic form, skip ahead to: Step Four: Distribute a PDF Fillable Form. If the document requires editing, please continue onto Step Three: Edit a PDF Fillable Form.
Step Three: Edit a PDF Fillable Form
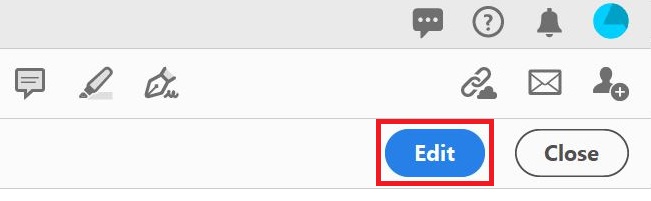
1. Exit the Preview mode by selecting the Edit button located on the top right hand-side of the screen.
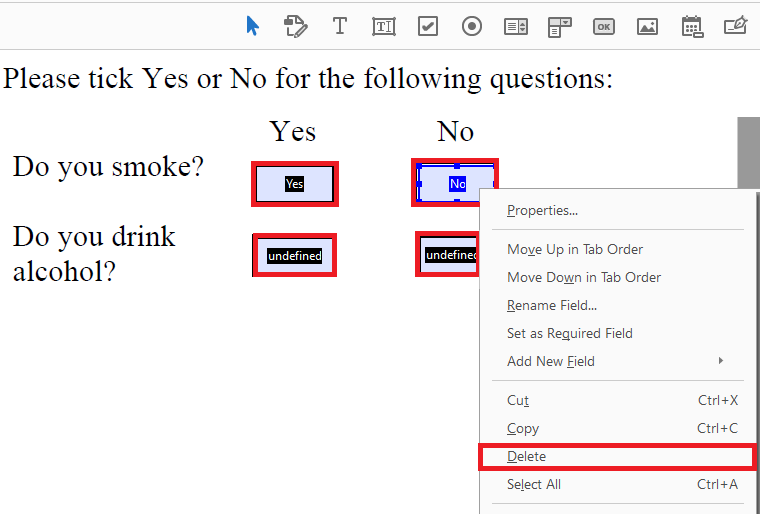
2. Delete any incorrect answer fields by hovering the mouse over the field and right clicking the mouse and selecting Delete from the options, or alternatively, clicking inside the field using the mouse and pressing the Delete option on the keyboard.
On the top of the screen you will find the following icons:

- Mouse Pointer: Single click of the mouse allows that section to be selected; double-click of the mouse opens the editing options for that particular section.
- Text and Image: Edit text and images. This is particularly useful if you need to edit the original layout of the document.
- Text Box: Add text to the document.
- Text Field: Add a text field - users will be able to type a response.
- Check Boxes: Add check boxes - typically used for yes-or-no choices, or for a question that can have multiple responses selected.
- Radio Button: Add radio buttons - this button option allows users to select only one response from a list of options.
- List: Add a list of options that the user can choose from. The options will be listed individually on a single line each and can also be sorted alphabetically.
- Drop-down List: Add a drop-down list of options that the user can choose from. Users will need to select the arrow to view the full list of options.
- Add a "Print" or "Clear" or other kind of button. The action for this button is editable in the Properties section.
- Image: Add an image field. Allows users to upload an image onto the document for e.g., Passport photo.
- Date: Add a date field. Users can navigate the calendar to enter a specific date.
- Signature: Add a digital signature field. Further options are available in the Properties section.
- Barcode: A barcode field can be added, with users typing into a fillable PDF form and the application encoding the data. Please note this option requires Adobe's Barcode Paper Forms Solution (separate license required).
- Pin: Selecting this option after you have selected a specific tool, ensures that tool is always selected. To turn off the feature, simply click on the Mouse Pointer icon.
- Question Mark: Field Type Help. Selecting this option will connect you to the online help site, providing further information relating to the field type options.
Follow this guide to insert the following different answer fields: Text Field, Check Boxes, Radio Button, List, Drop-down List, Image, Date and Signature.
Text Field
1. Select the Text Field icon.

2. Align the text field to the desired space, then click on the mouse. By pulling on the sides of the text field, you are able to manipulte the size and length of the text field to fit the space perfectly.
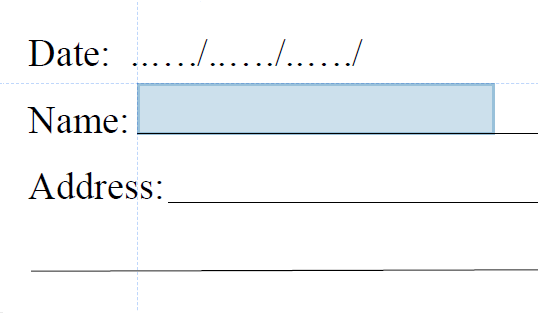
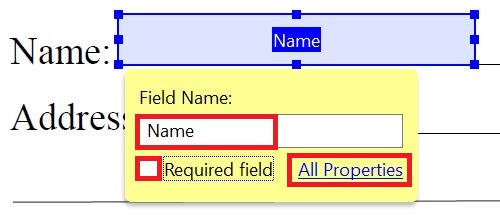
3. A yellow pop-up window should now appear. Rename the Field Name: to match the question. For e.g., Name, Address or Comments. Tick Required Field if this is a compulsory question (this is mostly used for a signature field). Select All Properties for more setting options.
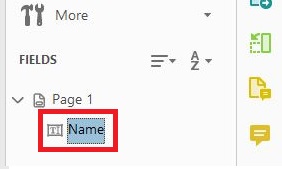
4. On the right hand-side you will see under the FIELDS heading a list of all the fields within the form. Re-naming these fields will help you navigate to specific fields by clicking on them within the list, as opposed to looking for the field within the pages of the form (this will benefit forms with multiple pages).
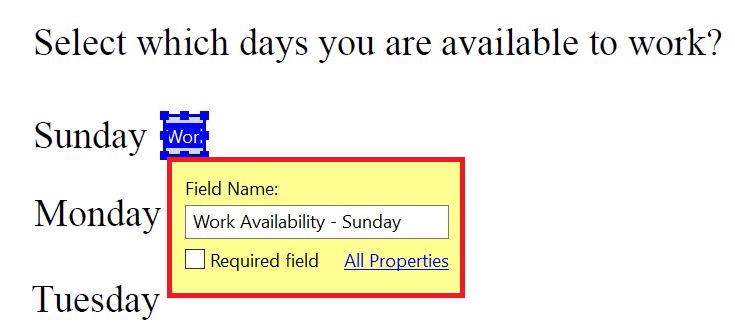
Check Boxes
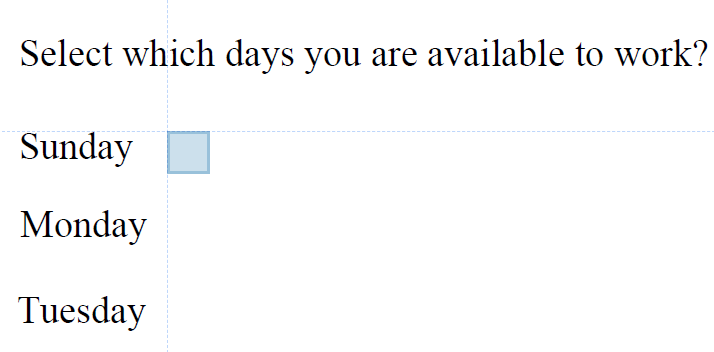
1. Select the Check Boxes icon.

2. Align the field to the desired space, then click on the mouse. By pulling on the sides of the field, you are able to manipulte the size and length to fit the space perfectly.
3. A yellow pop-up window should now appear. Rename the Field Name: to match the question. For e.g., Name, Address or Comments. Tick Required Field if this is a compulsory question (this is mostly used for a signature field). Select All Properties for more setting options.
Radio Button
1. Select the Radio Button icon.

2. Align the field to the desired space, then click on the mouse. By pulling on the sides of the field, you are able to manipulte the size and length to fit the space perfectly.
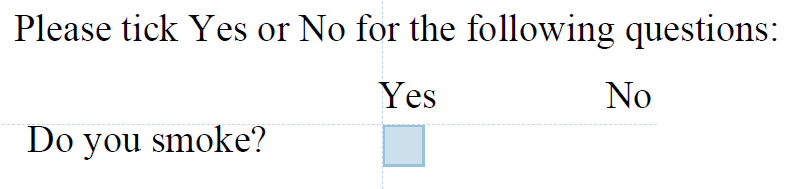
3. A yellow pop-up window should now appear. Rename the Radio Button Choice to be the answer title. Rename the Group Name to be the same title of the question or a shortened version. Select Add Another Button.
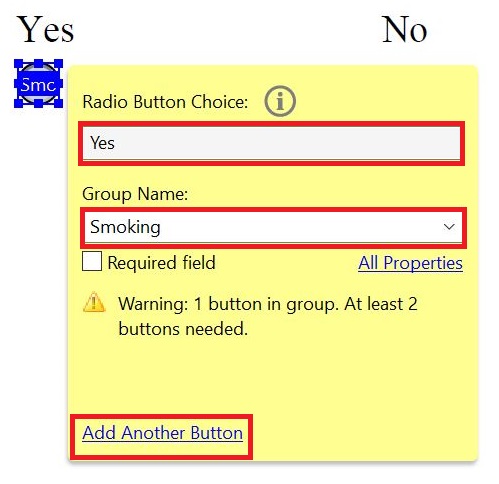
4. Align the radio button accordingly. Rename the Radio Button Choice to be the answer title. Rename the Group Name to be the same name as the other options related to this question. This will ensure only one response is recorded for that question.
List
1. Select the List icon.
![]()
2. Align the field to the desired space, then click on the mouse. By pulling on the sides of the field, you are able to manipulte the size and length to fit the space perfectly.

3. A yellow pop-up window should now appear. Rename the Field Name: to match the question. For e.g., Name, Address or Comments. Select All Properties.
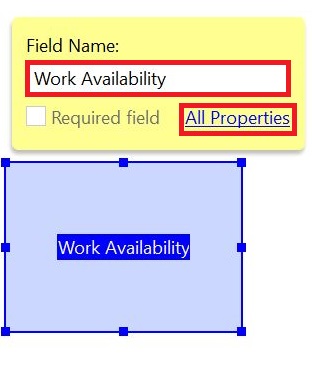
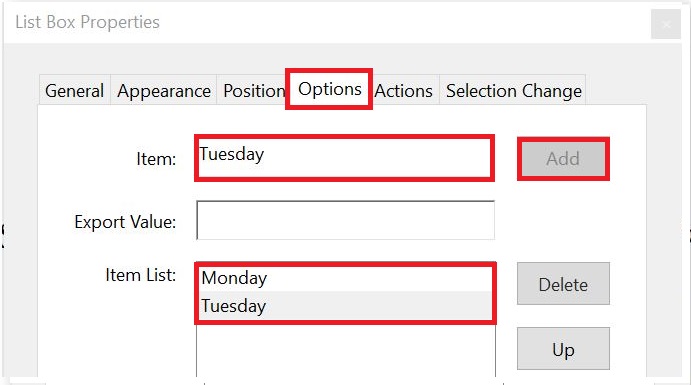
4. Select the Options tab. Type an option inside the Item section and confirm the option by selecting the Add button. Keep adding as many options as applies to your list by repeating this step. The list of options will appear in the Item List.
Drop-down List
1. Select the Drop-down icon.
![]()
2. Align the field to the desired space, then click on the mouse. By pulling on the sides of the field, you are able to manipulte the size and length to fit the space perfectly.
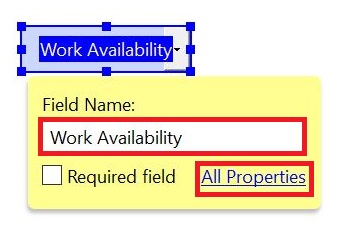
3. A yellow pop-up window should now appear. Rename the Field Name: to match the question. For e.g., Name, Address or Comments. Select All Properties.
4. Select the Options tab. Type an option inside the Item section and confirm the option by selecting the Add button. Keep adding as many options as applies to your list by repeating this step. The list of options will appear in the Item List.
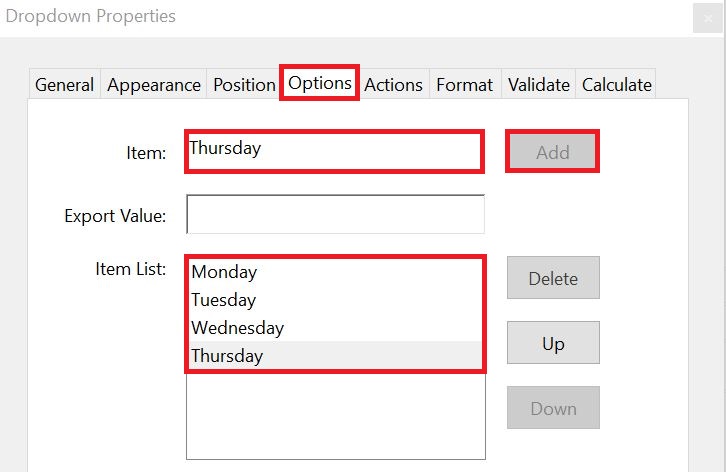
Image Field
1. Select the Image Field icon.
![]()
2. Align the field to the desired space, then click on the mouse. By pulling on the sides of the field, you are able to manipulte the size and length to fit the space perfectly.
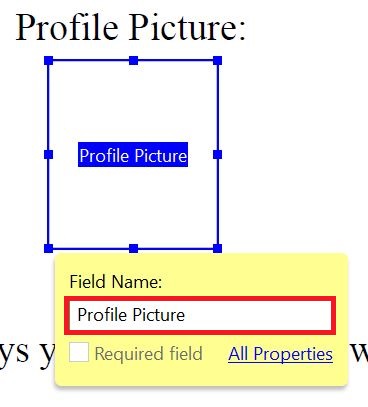
![]()
3. A yellow pop-up window should now appear. Rename the Field Name: to match the question. For e.g., Name, Address or Comments.
Date Field
1. Select the Date Field icon.
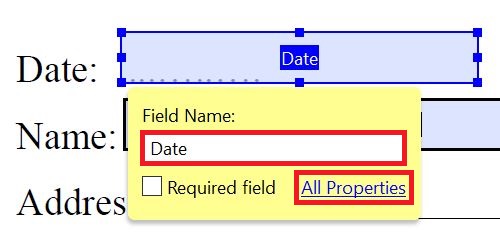
![]()
2. Align the field to the desired space, then click on the mouse. By pulling on the sides of the field, you are able to manipulte the size and length to fit the space perfectly.

3. A yellow pop-up window should now appear. Rename the Field Name: to match the question. For e.g., Name, Address or Comments. Select All Properties.
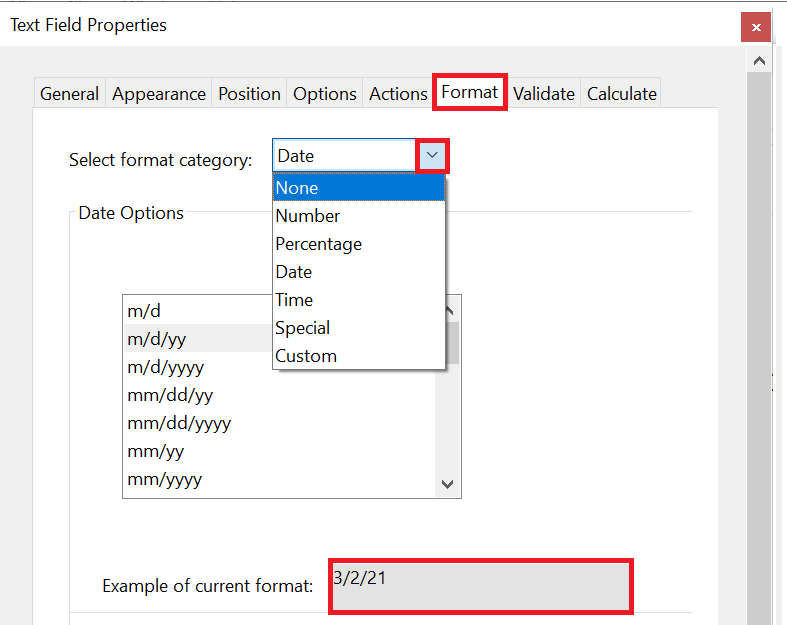
4. Select the Format tab. To select the format category, click on the drop-down arrow and select from the options. An example of the current format will appear on the bottom of the properties window.
Signature
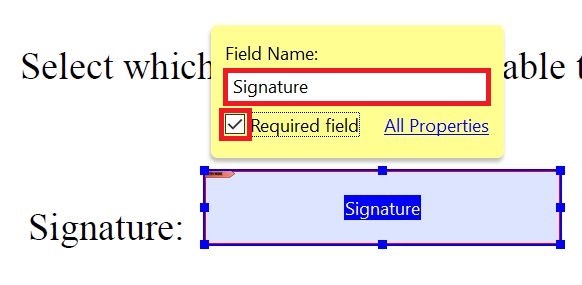
1. Select the Signature icon.
![]()
2. Align the field to the desired space, then click on the mouse. By pulling on the sides of the field, you are able to manipulte the size and length to fit the space perfectly.
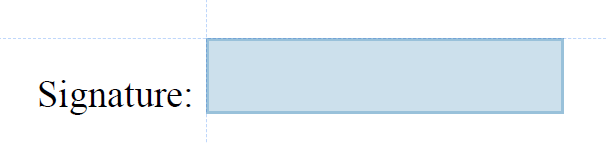
3. A yellow pop-up window should now appear. Rename the Field Name: to match the question. For e.g., Name, Address or Comments. Select the Required field check box if a signature is mandatory.
4. Once you have completed editing your form, select File and from the list of options select Save.
Step Four: Distribute a PDF Fillable Form
There are multiple ways to distribute a PDF fillable form to students within Victoria University, here are the main choices.
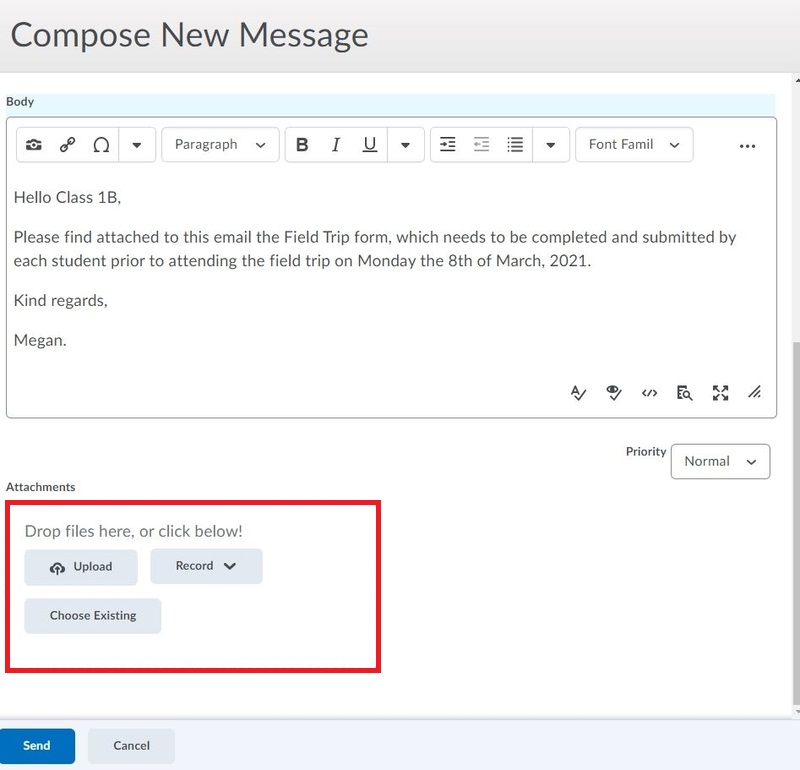
4.1 Distribute a PDF Fillable Form via Email
This may be a good option if there are only a select few who need to complete the form or if you would like to email the class list. For information on how to email students or a class list within VU Collaborate, please see this guide: Emailing Students Using the Classlist.
The form must be added as an attachment to the email.
4.2 Distribute a PDF Fillable Form via VU Collaborate
This may be a good option as the form can be uploaded into a module so that students can access the form within VU Collaborate. A dropbox can also be created for students to upload their completed forms.
1. Navigate to the unit space in VU Collaborate.
2. In the navbar at the top of a space, click Learning Space.

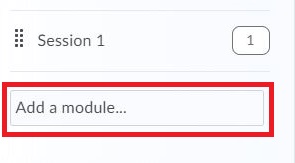
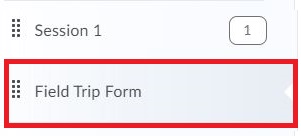
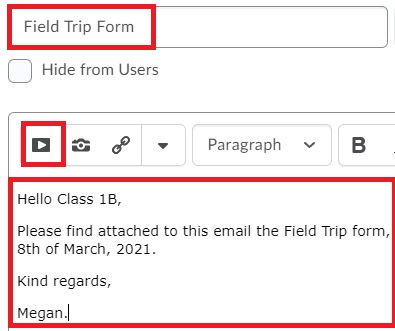
3. Navigate to the left hand-side to select Add a Module (located at the bottom of the list of modules). Type a name for the module for eg. Field Trip Form.
4. Select New and from the list of options select New Document.

5. Provide a title for the document and provide a short description. To insert the link in the description select the Insert Stuff icon.
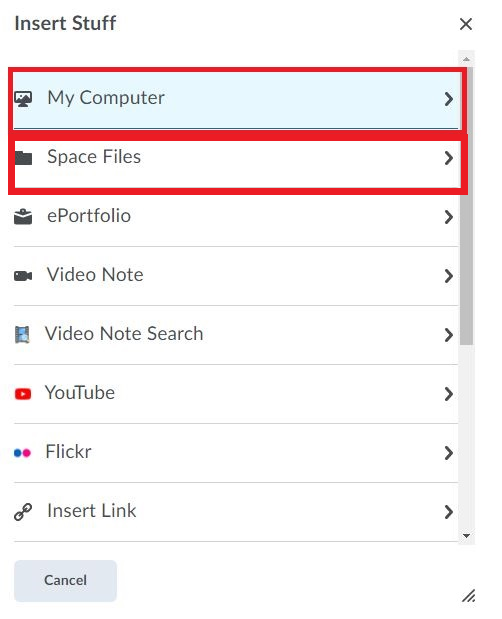
6. Select My Computer or Space Files (depending on where you have saved the document) and search for the form to be added.
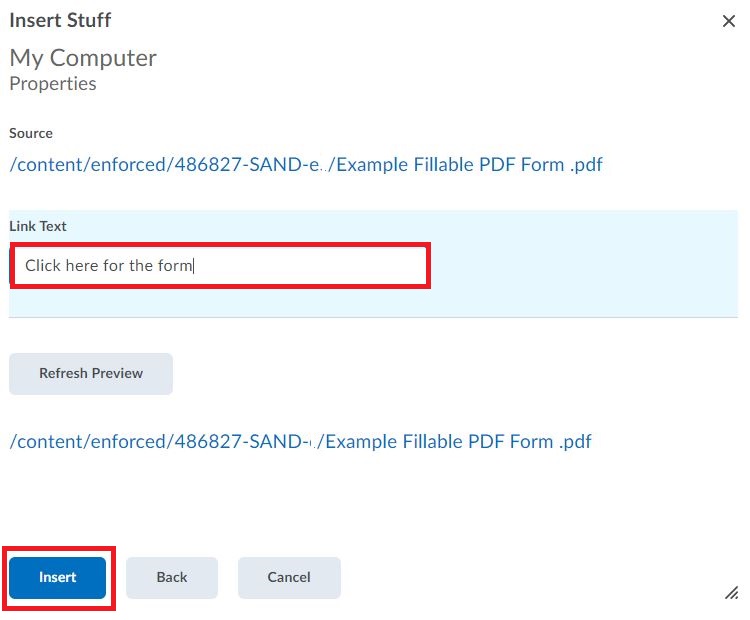
7. One the form link has been located, provide a Link Text title and select Insert.
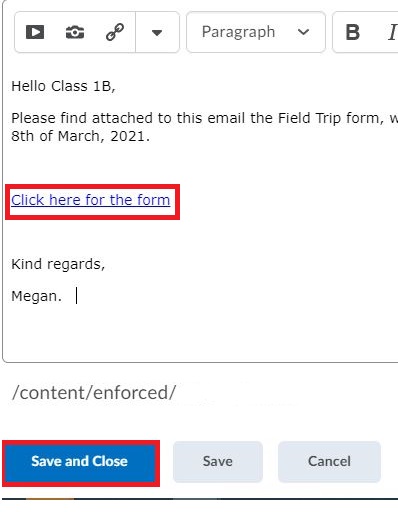
8. The link will appear within the description box. Select Save and Close.
To collect the forms you may decide to create a dropbox. This will create a space for students to submit their completed forms. For information on how to create a dropbox, please see this guide: Creating an Assessment Dropbox.
The dropbox does not need a rubric or grade item, simply create the dropbox and title it appropriately. For eg. 'Submit Medical Forms into this Dropbox'.
Further Support
Contact us This email address is being protected from spambots. You need JavaScript enabled to view it., for information and resources on technology-enhanced learning, or visit VUCollaborateHelp.vu.edu.au.
Contact ITS Service Desk on (03) 9919 2777 or via self-service servicedesk.vu.edu.au for technical support.