
Creating a Quiz
The VU Collaborate Quiz tool is effective at testing and identifying gaps in knowledge and providing feedback to instructors and students. You can create a quiz in VU Collaborate and link it to the Gradebook to form a component of students' assessments. This guide will show you how to create a quiz, insert restrictions by date and student, and link to the Gradebook and the reports that can be generated.
On this page:
- Create or Edit a Quiz
- Enter a Grade and Link to a Grade Item
- Add Quiz Questions
- Dates and Availability Conditions
- Set Timing & Display
- Set Attempts & Completion
- Evaluation & Feedback Setup
Quizzes can only be created by Block Convenors and Block Key Academics in the master space.
Once the quiz is transferred into the delivery space (automatically two weeks before class starts) only minor changes should be made.
Create or Edit a Quiz
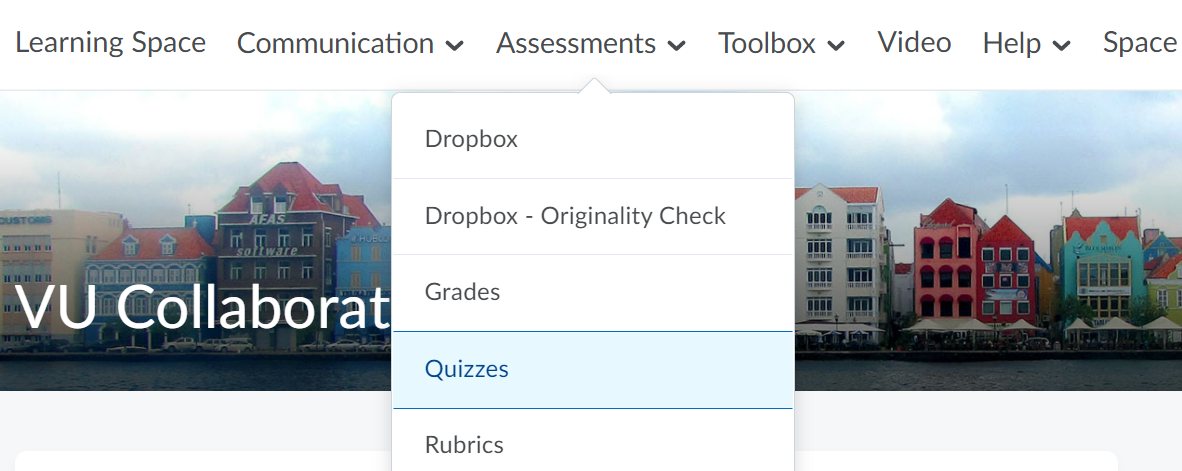
1. To begin, navigate to Assessment then select Quizzes.
2. Create a new quiz, or edit an existing quiz.
Create a New Quiz
a. Select New Folder.
![]()
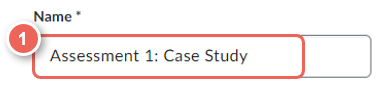
b. Enter a Name (1), using the same name as the grade item.
Edit an existing quiz
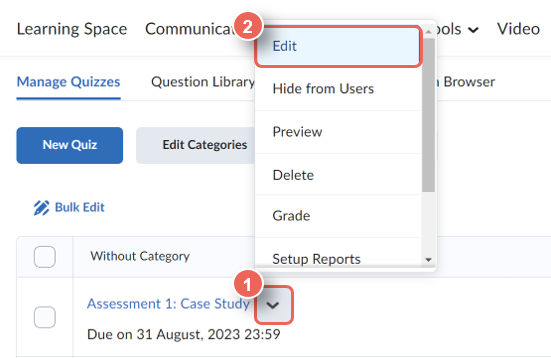
a. From the Quiz name menu (1), select Edit (2).
Enter a Grade and Link to a Grade Item
Link to Existing Grade Item
In this step, it is recommended to link to an existing grade item to ensure the weighting is correctly set, see Creating a Grade Item.
When no grade item is selected a new grade item with the default weight of 10% is created.
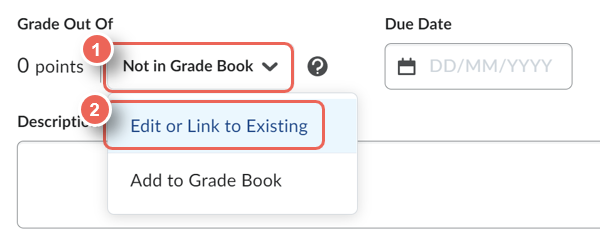
1. In Grade Out Of, enter the Total Points (1) the assessment will be marked out of.
Total points may be different from the total weight, for example, an assessment (and rubric) marked out of 100 points, can have a total weight of 25% for the unit.
2. From Not in Grade Book (1) select Edit or Link to Existing (2).
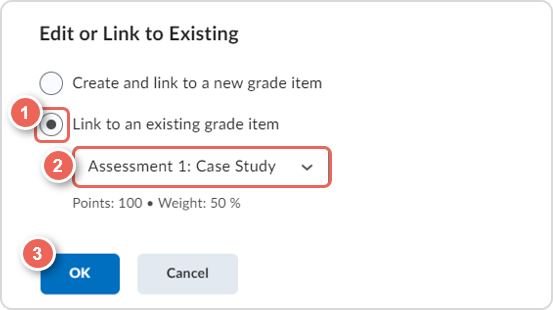
3. In the pop-up window, select Link to an existing grade item (1) then select the required grade item (2) from the dropdown list.
4. Select OK (3) to confirm.
Add Quiz Questions
1. There are two ways of adding your questions:
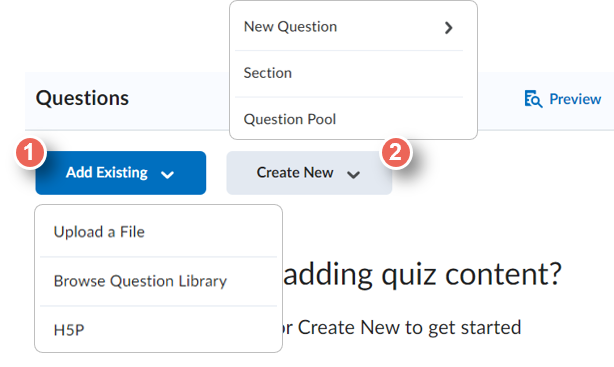
- Select (1) Add Existing
-
- Upload a File: upload a formatted questions file - see Creating Questions with the Quiz Converter Tool
- Browse Question Library: This allows you to select questions from the question library
(It is recommended to always create questions in the question library) - Creating Questions in the Question Library - Import from H5P
- Select (2) Create New to add a New Question, Section, or Question Pool.
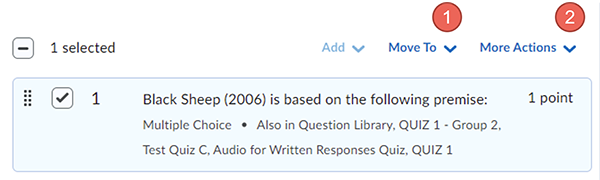
2. Once all the questions are added, you can move them by selecting the question then select Move To, and choose whether you want to move the question to the Top of the Quiz, or Bottom of the Quiz, or to Section.
Or More Actions to delete and set points for the questions.
Dates and Availability Conditions
Due Date (set in the delivery space)
Due date is the date and time when a quiz is due, past this time student attempts will be marked as late.
1. From Due Date (1), enter a date in DD/MM/YYYY format, or select date (2) from the mini calendar.

Start and End Dates (set in the delivery space)
2. Expand Availability Dates & Conditions (1).

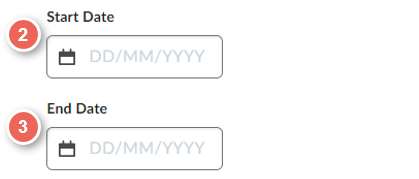
3. Select start and end dates
- Start date (2) - first time students can access the quiz
- End date (3) - last time students can access the quiz
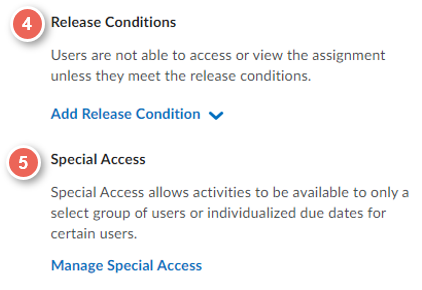
Release Conditions and Special Access (set in the delivery space)
- Release Conditions (4) - students are unable to access or view the quiz until the release conditions are met. See Using Release Conditions for more information.
- Special Access (5) - provide access to either
(a) only a select group of students i.e. one class, or
(b) individualised access for select users, that differ from the rest of the class i.e. extention of due date. See Add Special Access for more information.
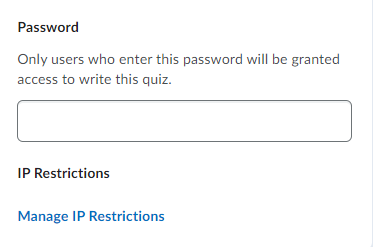
Set Password
- A password may be entered and students will have to enter this password to start the quiz.
- Manage IP Restrictions: to set predefined IP addresses (IPv4). This is where you can set IP restrictions (restricting access to those who use a specific type of IP address).
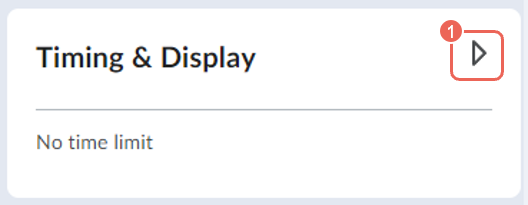
Set Timing & Display
1. By default, the quiz timing is set as No time limit. Click on the Timing & Display to expand the settings.
Add Quiz Timer
2. Tick the Set time limit, then enter a value in minutes.
3. Select Timer Settings to expand the timing option.
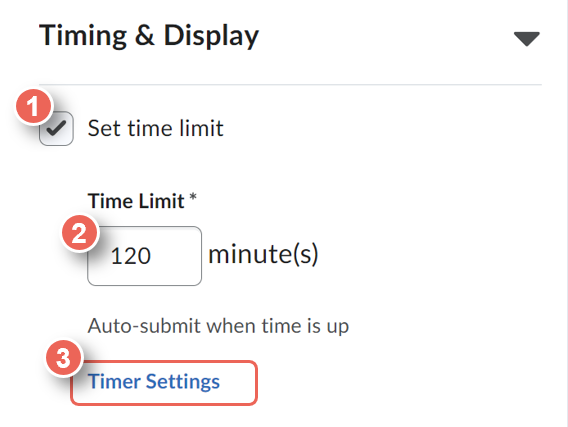
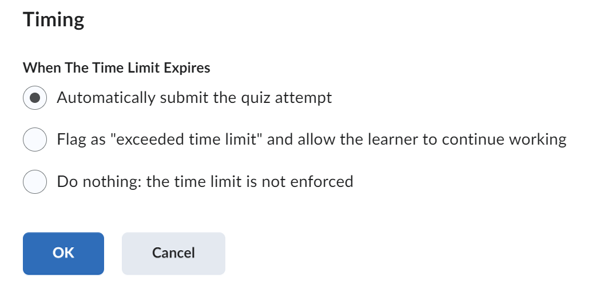
The Timer Settings indicate what will happen when the provided quiz time has ended.
When the time limit has ended, the system can either:
- Automatically submit the quiz attempt
- Flag as "exceeded time limit" and allow the learner to continue working
- Do nothing: the time limit is not enforced
Select OK once done.
The timer for a quiz begins the moment the student enters the quiz and can see the quiz questions. If a student forgot to submit their quiz attempt, then the teacher will need to do the following: Submitting a quiz on behalf of a student.
Late submissions will be flagged in red.
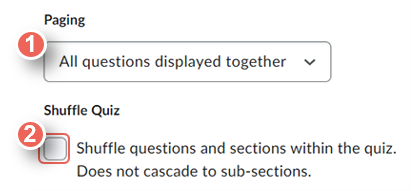
Add Pagination
Paging Option: By default, all questions will be displayed on one page, click on the dropdown for more paging options.
- All questions displayed together
- 1 question per page
- 5 questions per page
- 10 questions per page
- Add page break after each section
Shuffle Quiz: shuffle questions and sections within a quiz. This does not cascade to sub-sections.
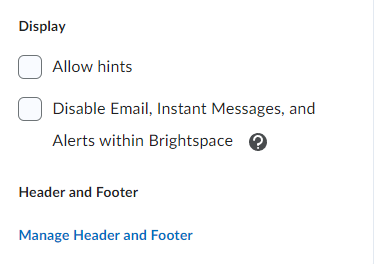
Optional
- Display hints
- Disable Email, Instant Messages, and Alerts within Brightspace
- Header and Footer:
You can add a header or footer as additional information or resources to your quiz.
Set Attempts & Completion
1. Click on Attempts & Completion to expand the settings.
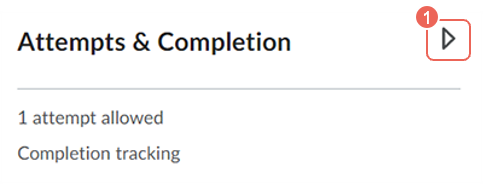
Manage attempts
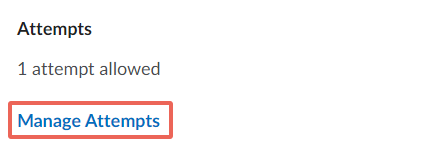
2. Attempts Allowed: the system will set 1 attempt allowed as a default.
2.1. To change this, click on Manage Attempts.
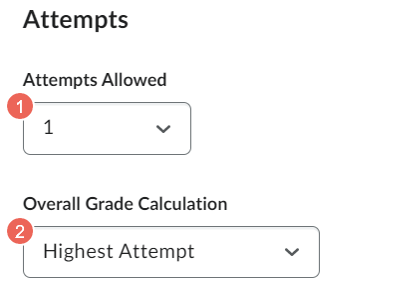
2.2. Under Attempts:
- Attempts allowed (1): the number of attempts you would like to allow.
- If the number of attempts provided is between 2 - 10, you can choose how Overall Grade Calculation (2) works by clicking the drop-down.
You can allow users one or more quiz attempts and calculate a grade based on their highest attempt, lowest attempt, first attempt, last attempt, or average of all attempts.
2.3. Select the OK button to save your changes, or Cancel to go back.

Add quiz category
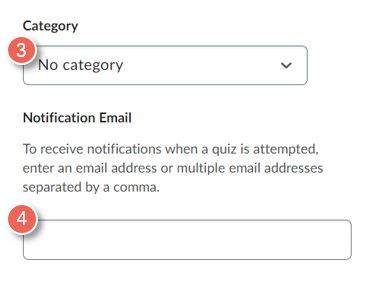
3. Category: (optional), select a category to group the quiz. You can either choose an existing category from the dropdown or create a new one by selecting the option [New Category].
4. Notification Email: to receive notifications when a quiz is attempted, enter an email address or multiple email addresses separated by a comma.
Evaluation & Feedback Setup
1. Click on Evaluation & Feedback for options to edit grade applications and student views.
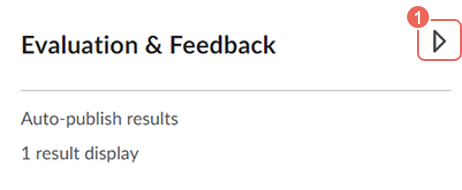
2. Here you will be able to add more settings to the quiz.
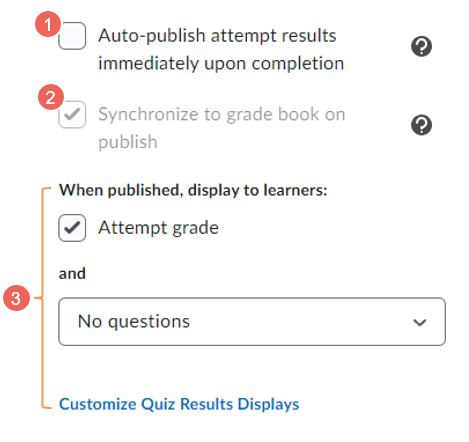
- Auto-publish attempt results immediately upon completion: auto-evaluated attempt results will be published and appear to students once they submitted their attempts.
- Synchronize to grade book on publish: student's grade will be automatically published to the grade book once it has been evaluated and published.
- When published, display to learners: Quiz results display determines how students can view their published quiz attempt results, both immediately following submission, or later when reviewing their attempt.
- Attempt grade
- Questions and/or answers
- For more information on how to edit Quiz Results Displays, please read the following guide: Managing the quiz submission view, scores and providing feedback.
Further Support
Contact us This email address is being protected from spambots. You need JavaScript enabled to view it., for information and resources on technology-enhanced learning, or visit VUCollaborateHelp.vu.edu.au.
Contact ITS Service Desk on (03) 9919 2777 or via self-service servicedesk.vu.edu.au for technical support.