Using MindMup
Mindmups will no longer be available after 31 July 2026.
- To save your existing maps, export as an image, PDF, or outline.
- To create new mind maps, see Mind Mapping with Whiteboard.
What is a Mind Map?
A mind map is a visual diagram that organises information around a central idea. Starting with a single concept or image in the centre of the page, related topics and subtopics branch outward - creating a structure that shows how ideas connect and relate to each other. Words, images, symbols and colour are used throughout to label each branch, highlight connections, and make the map easier to read and remember.
Step One: Sign in (until 31-Jul 2026)
To sign in:
- On the main menu, select Tools, then Mind Mapping Tool.
- Select Access MindMup Login Page, or go directly to Mindmup login
- Select Continue with Microsoft
- Select you account, then sign in with your usename and password:
- Student: s<student number>@live.vu.edu.au (e.g. This email address is being protected from spambots. You need JavaScript enabled to view it.)
- Staff: e<staff id number>@vu.edu.au (e.g. This email address is being protected from spambots. You need JavaScript enabled to view it.)
Step Two: Create (until 31-Jul 2026)
To create a mind map:
- Central Topic: The Central Topic is the main concept or idea to be explored.
Hit the Space bar, or double-click on the node, and enter a word or short description. - Add Sub-Topics: Click the plus sign to add sub-topics linked to the central idea
- Continue brainstorming: by adding additional nodes, sticky notes and images as you explore your topic
- Cluster ideas, and Signal importance: by change text size, and shape colour
Step Three: Download or Export (until 31-Jul 2026)
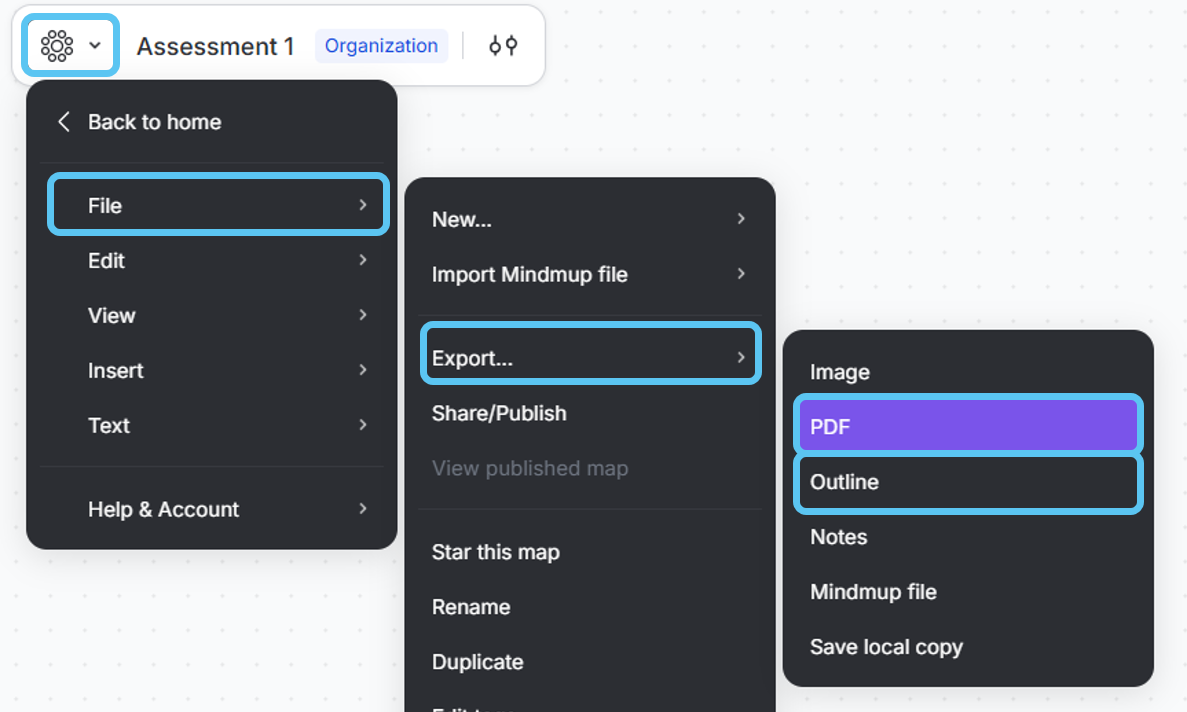
Export as an image, PDF or Outline, to save your maps:
- From the main menu icon, select File
- To create a PDF: Select File > Export > PDF, or
- To save as text: Select File > Export > Outline, and tick the Include notes checkbox
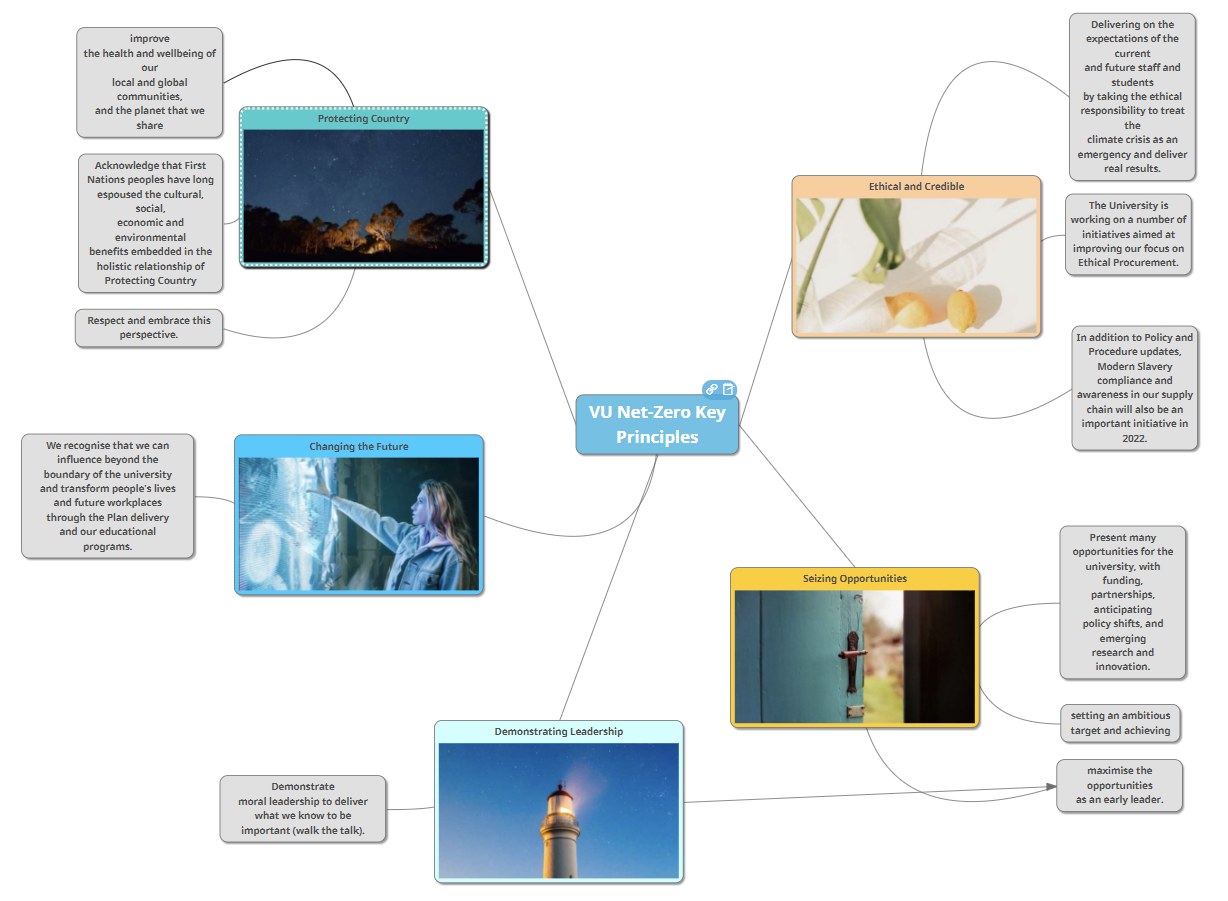
Here is an example of a mind map that demonstrated VU Net Zero Key Principles (2021):