
ePortfolio
Create a comprehensive and dynamic online portfolio.
My ePortfolio
My ePortfolio is a personal portfolio tool for storing, organizing, reflecting on, and sharing items that represent your learning.
Watch the short video, Overview of ePortfolio below:
Access My ePortfolio
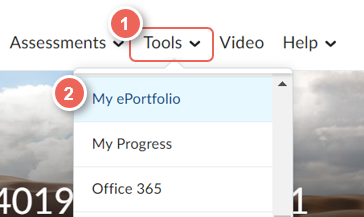
(1) Navigating to your unit space.
(2) From the navbar, select Tools, then My ePortfolio.
My ePortfolio Guides
Getting Started:
Sharing & Managing: