

Create Assessment Groups in VU Collaborate
If your unit includes group projects, the Groups tool in VU Collaborate is a great way to set up group assessment submissions and private discussions between group members. You can also use it to release group-specific content or assessment tasks, helping create a more personalised learning experience for students.
This guide shows you how to create and manage group categories, including manually allocating students if required and exporting group enrolments.
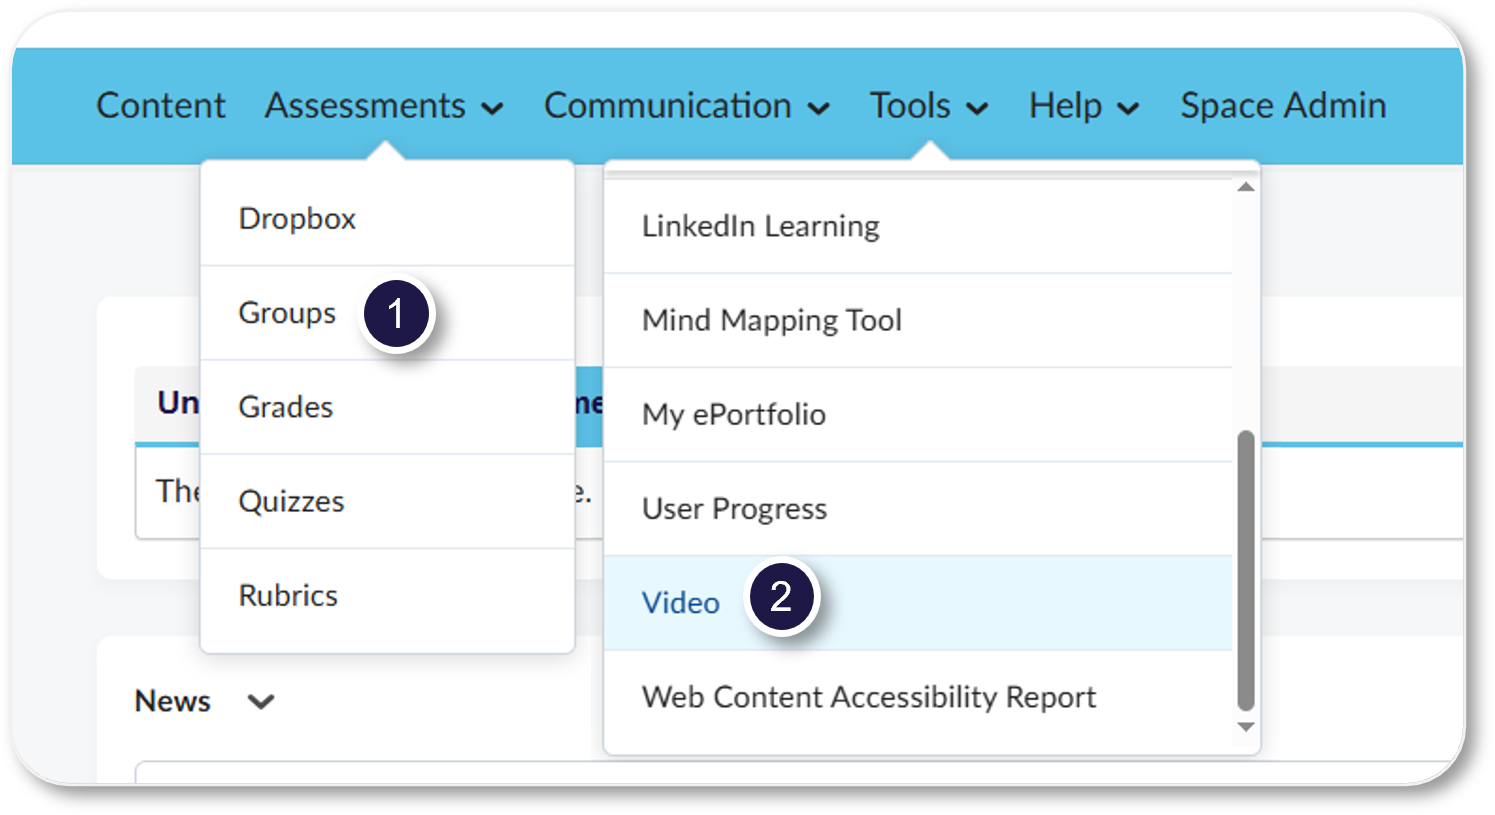
New unit navigation bar available in H2B3
Groups are moving to Assessments and Video is moving to Tools!
Watch: Create Assessment Groups in VU Collaborate
Watch Create Assessment Groups in VU Collaborate, or view the guide in full text view.