

Schedule Zoom Classroom Sessions
This guide will show how to schedule and start all your Zoom Classroom sessions within VU Collaborate.
Sign-in required
To join Zoom Virtual Classrooms, participants are required to Sign In, to access Zoom sessions.
See Accessing a Zoom Classroom (student guide).
On this page:
- Access the Zoom Classroom
- Enter a Name
- Select Dates and Times
- Choose Security Settings
- Choose Video and Audio Settings
- Select Meeting Options
- Add Alternative Hosts
Watch: Schedule Zoom Classroom Sessions
Access the Zoom Classroom
Schedule Zoom sessions in your Delivery Space.
1. In a Delivery Space on the navbar, select Communication, then Zoom Classroom.
2. Select Schedule a New Meeting.

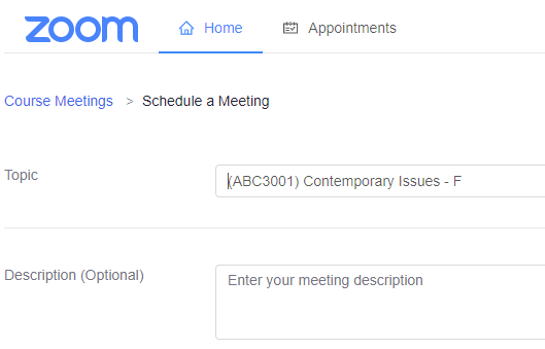
Enter a Name
Review the Topic Name, and optionally include a Description.
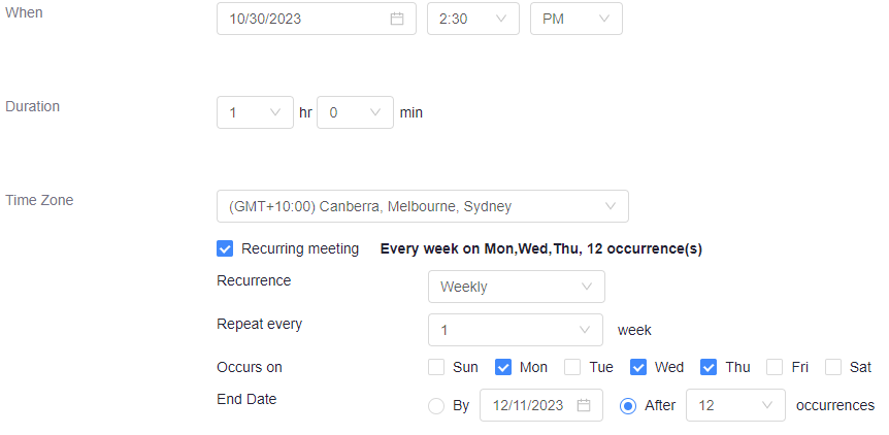
Select Dates and Times
Enter your session details:
- When: Select the Date and Time. For recurring meetings, this will be for the first session.
- Duration: Enter the length of the session (i.e. 1 hour).
Note: this is for scheduling only, the meeting can be started before this time and will run until the host ends the session. - Time Zone: Check that the correct time zone is selected (i.e. GMT+11:00 Canberra, Melbourne, Sydney).
- Recurring meeting: Optional - Tick to schedule multiple class sessions. Next select recurrence (i.e. weekly), days (i.e. Mon, Wed, Fri) and end date (by date or number of occurrences).
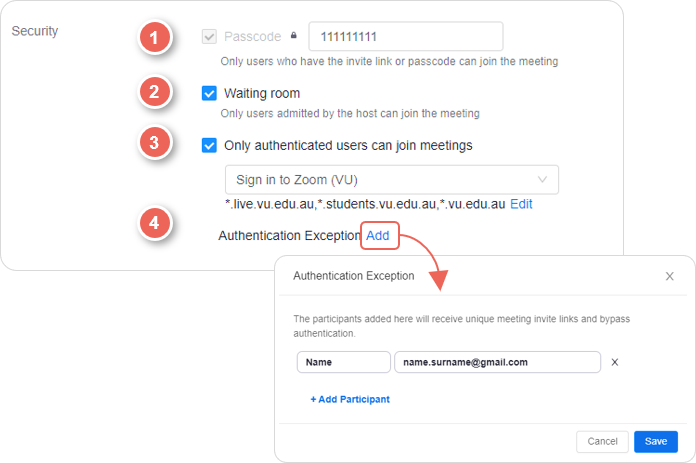
Choose Security Settings
Why enforce authentication for students?
This implementation aims to improve student and staff wellbeing and safety. When enabled, only VU students and staff will be able to join Zoom classes.
To join Zoom Virtual Classrooms, participants are required to Sign In.
From Monday 15th July 2024 for HE Semester 2 classes (H2B1, H8W3, EL6, HV05), sign-in will be required, to access Zoom sessions.
See Accessing a Zoom Classroom, VU Collaborate Student guide.
Review the security settings:
- Passcode (1): Required
- Waiting room (2): Recommended - participants will be placed in a waiting room until admitted by the host.
- Only authenticated users can join meetings (3): Required - will ensure only VU students and staff will be able to join Zoom classes.
Inviting an external guest into a class? If yes, add an exemption by email.
- Authenticate Exception (4): select add, then in the pop-up window, select add participant, and enter a name and email.
Choose Video and Audio Settings
- Choose if you would like the host and participant's video on or off when joining the meeting.
- Keep the default audio setting Telephone and Computer Audio.

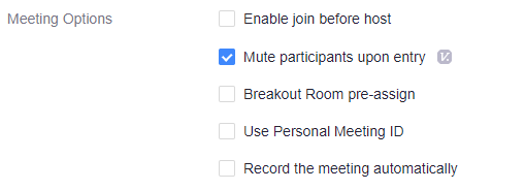
Select Meeting Options
- Enable join before host: Not recommended
- Mute participants on entry: Recommended - participants can unmute themselves, but it reduces noise and distraction at the start of a session.
- Breakout Room pre-assign: Optional - see Using Breakout Rooms in Zoom if pre-assigned rooms are required.
- Use Personal Meeting ID (ID Number): Not recommended
- Record the meeting automatically: Unavailable
VU will not be recording any Zoom classroom sessions due to security, privacy, and copyright concerns.
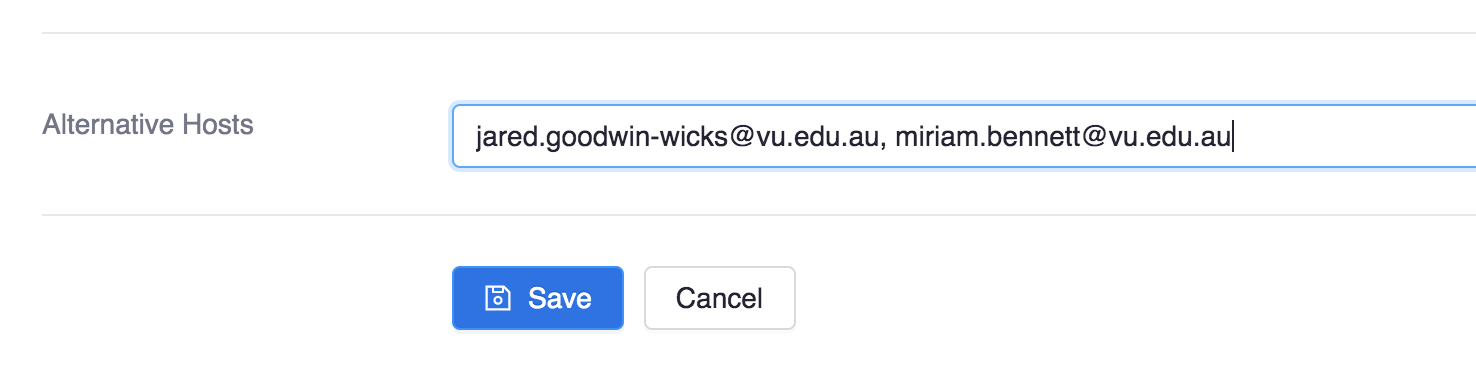
Alternative Hosts
You can assign another VU staff member as the host for the meeting, allowing more than one person to be able to start/host the class. You can also allow co-hosts scheduling privileges to schedule meetings or classes on your behalf.
Select setting schedule privileges to co-hosts on Zoom for the best/safest method for assigning another person to create schedules for you.
- Enter alternate host emails separated by a comma.
Note: Alternate host emails must be entered in all lowercase, otherwise, they will not be able to start the meeting.
Save
When ready, select Save to create your Zoom session(s).