Assessing and Marking Discussion Topic
This guide will show how to grade and assess Discussions in VU Collaborate. This is a great way to encourage students to interact with teachers, the content and each other.
If you have not already created your Discussions and associated grade item, see Using Discussions.
On this page:
- Access Discussion Topic
- Access the Evaluation Submission Page
- Providing Feedback using Rubric
- Publishing or Saving Feedback
Step One: Access Discussion Topic
1. In a unit space on the navbar, click Communication then Discussions.
Discussion Topic
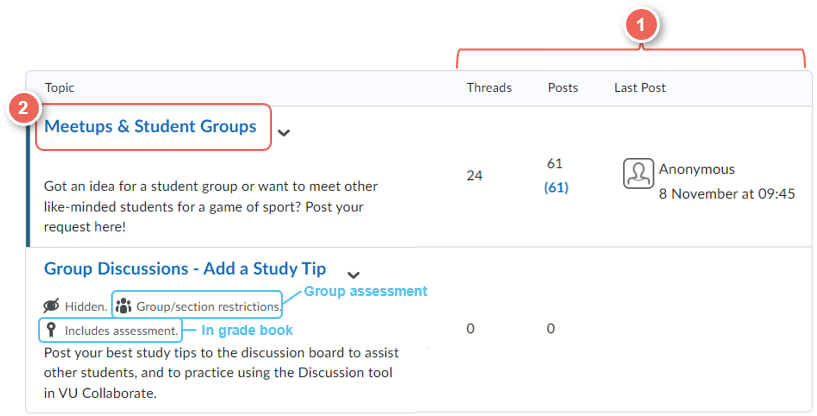
2. View the topic summaries:
- Threads - total threads
- Posts - total posts and numbers of unread posts.
- Last Post - the last student who posted on that topic, followed with a timestamp.
3. Click on the Discussion Topic Title (3), to view all posts and threads.
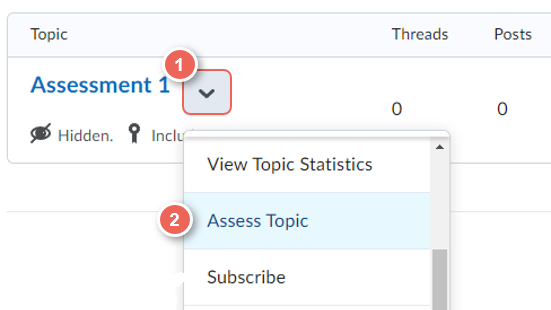
4. Once done, go back and select Assess Topic from the dropdown option to mark student posts.
Step Two: Access the Evaluation Submission Page
Search or Filter submissions list
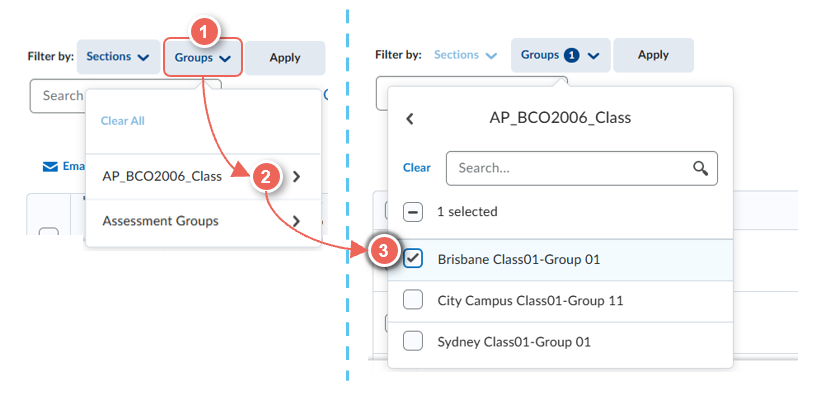
If you wish to just view your class, or one group. Select filter by Groups (1), or expand the Show Search Options (6), for additional search options.
Filter to a Group
New look filter available Friday 28-Feb 2026.
To filter by Class or Assessment group, select Groups (1) > Group Category (2) > Class Group (3) i.e. Brisbane Class01-Group 01

View submissions
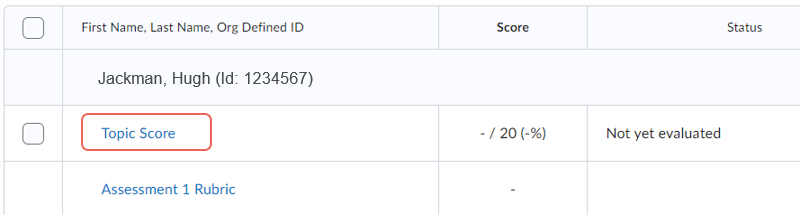
1. Under each student's name, select the Topic Score to enter the evaluation view.
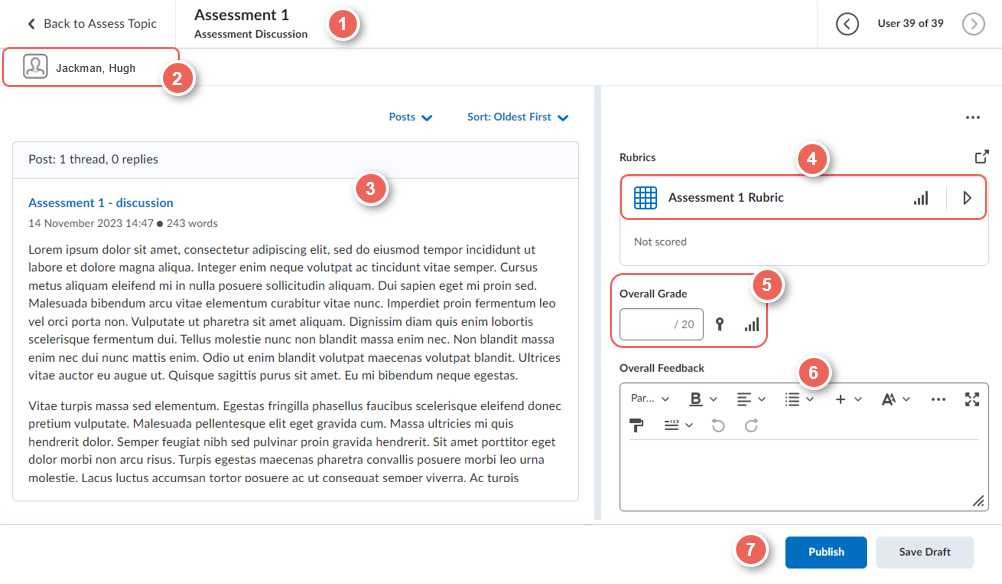
2. The evaluation screen will open to one like the picture below:
- (1) Name of the current discussion topic.
- (2) Student name.
- (3) Student submission post.
- (4) Rubric to evaluate assessments based on criteria.
- (5) Overall Grade: If there is no rubric to complete, place the score here manually.
- (6) Overall Feedback: Enter and provide further feedback for the student.
- If this is the first time you will provide the student with an evaluation, you will see the options: Save Draft and Publish. Click Save Draft to save all the information but to keep it hidden from students. Click Publish to save the information and show it to students.
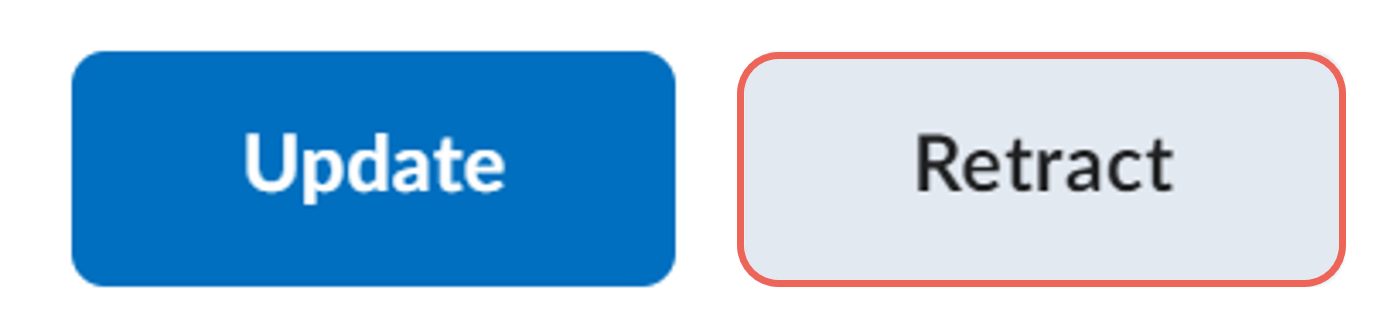
- If you have already evaluated the submission and published it to students, the following options will appear: Update and Retract. Click Update to save any changes. Click Retract if you would like to retract the evaluation.
Step Three: Providing Feedback using Rubric
Marking and providing feedback within a discussion topic is similar to marking a rubric in a dropbox folder.
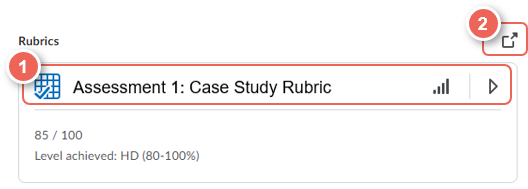
There are two options to view and mark with a rubric:
- Expand view (1) - view and mark with the rubric in-line with the assessment submission
- Pop-up window view (2) - view and mark with the entire rubric in a new pop-out window
For more details on how to mark using each method, see our guide: Providing Feedback.
Step Four: Publishing or Saving Feedback
Save or publish feedback
Scroll to the bottom of the page and, select either
- Publish ( the student will see their mark and the grade will be transferred to the grade book) or
- Save Draft ( the rubric will be saved with the allocated mark; however, the student will not be able to view their result).
Retract (unpublish) feedback
If grades have been unintentionally published, you can select Retract to return to Save as Draft.
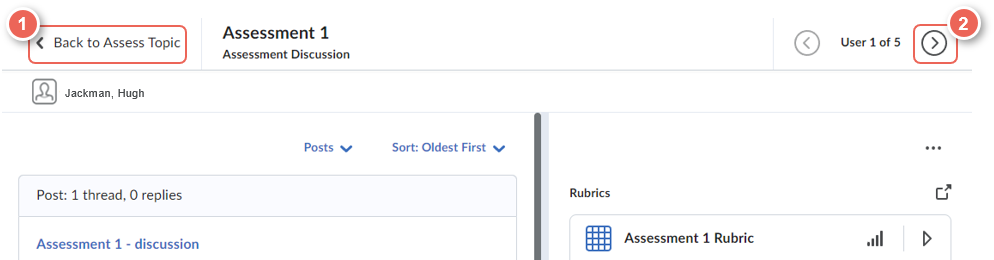
Complete or Continue evaluations
1. Click Back to Assess Topic to exit the evaluation view, or Next Student icon to continue grading.
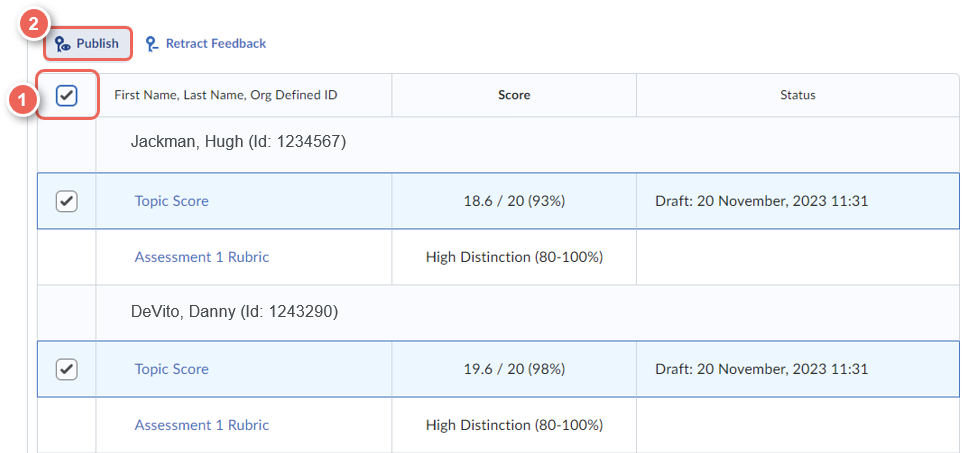
2. To bulk publish some students or a class group, after filtering to your class,
Tick on all or some student submission, then select Publish.