Using Intelligent Agents
Intelligent Agents can be used to automatically send emails to students based on activity conditions, such as access, module completion, quiz scores and more. Create your agent, set the frequency the report will be run, define the conditions that need to be met, and then the email message that will be sent.
This guide will show you how to create an Intelligent Agent.
Watch
Watch how to create Intelligent Agents in VU Collaborate, or view the guide in full text view.
1. In your unit space on the navbar, select Space Admin (1).
2. Under the Communication sub-heading, select Intelligent Agents (2).

3. Select New.

Step Two: Add Details
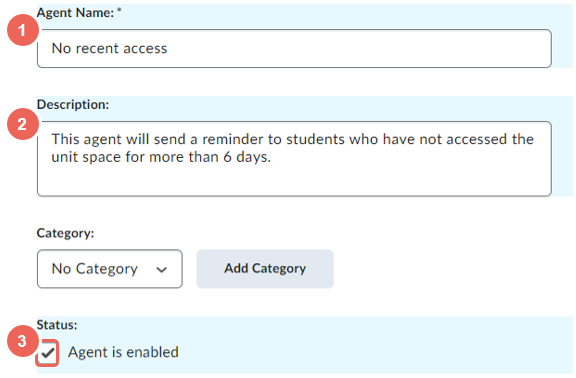
Enter agent details to describe the purpose of the agent. These details assist you in locating the agent and are not seen by students.
1. Enter an Agent Name (1) and optionally enter a Description (2).
2. Tick Agent is enabled (3) when ready to use the agent.
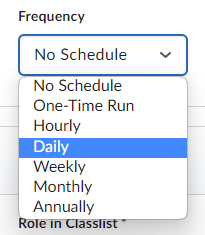
Step Three: Set Run Frequency
1. Select the frequency the agent will be run, then enter details as required.
Step Four: Add Criteria
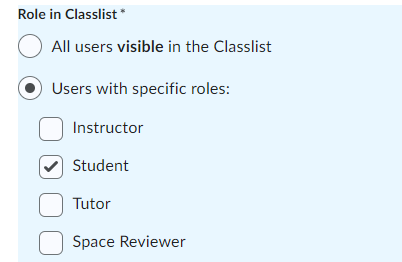
Select who will receive the email
It is important you select specific roles, not all users visible in the classlist, as this will send the email to all staff and students listed in the space.
1. Select Users with specific roles, and then select Student. Review the list and select additional roles (such as Manual Student) if required.
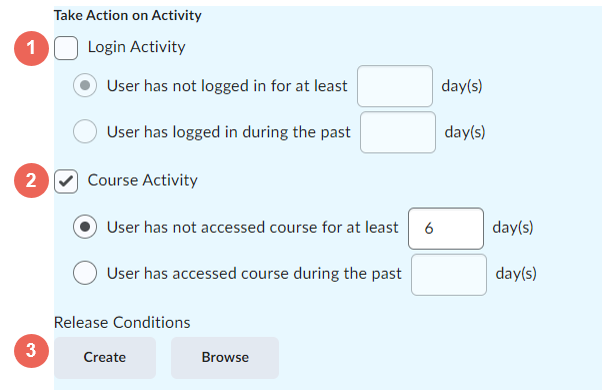
Select the activity that will trigger the email
Activity can be trigger on Login Activity (1), Course Activity (2) or Release Conditions (3). For example send email on:
- Login Activity: A student has not logged in to VU Collaborate, in the last 6 days.
- Course Activitiy: A student has not accessed the unit space in the last 6 days.
- Release Conditions: A student has completed a module, passed a Quiz or not submited an assessment.
See Set Release Conditions for Learning Materials to learn more.
Step Five: Add Agent Actions (Action Repetition and Email)
Set Action Repetition
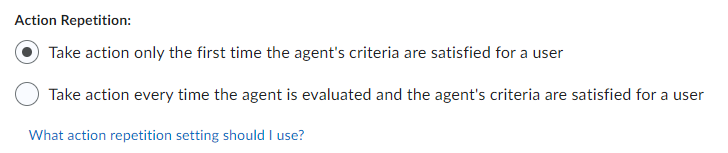
1. Select if the action will be repeated after (a) the first time, or (b) every time the set criteria have been met.
- Option (a): Take action only the first time the agent's criteria are satisfied for a user.
Select this option if the email is only to be sent once, such as completing a module. - Option (b): Take action every time the agent is evaluated and the agent's criteria are satisfied for a user.
Select this option if the email should be sent every time the condition is met, such as not accessing the unit for 6 days.
Create Email
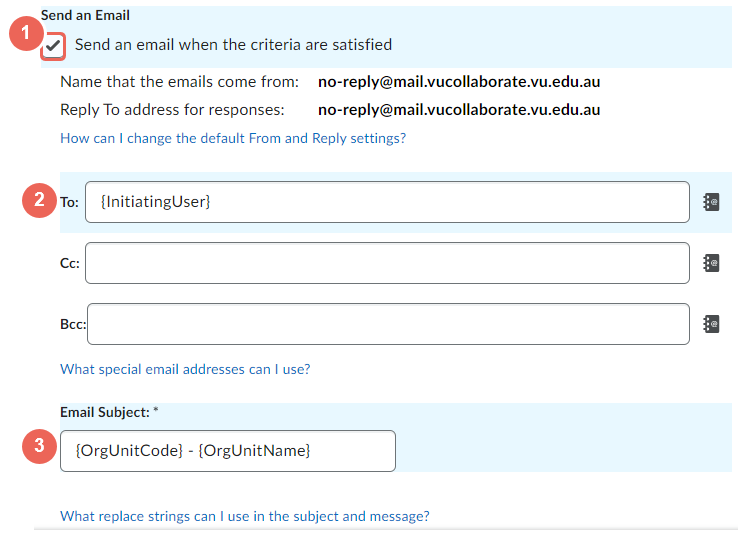
1. Tick to send an email when the criteria are satisfied (1).
2. To: enter {InitiatingUser} (2), to send the email to students who have met the set criteria (required).
3. Cc: enter your email address, if you wish to receive the email, and let students see your email (optional).
4. BB: enter your email address, if you wish to receive the email without students seeing your email (optional).
5. Email Subject: enter the email subject, you can use {OrgUnitCode} and {OrgUnitName} (3) to display the unit code and unit name (I.E. ABC1234 VU Collaborate Essentials).
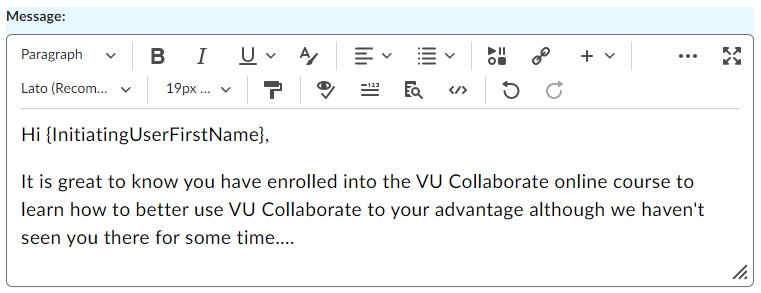
When creating an email, you can use replace strings to code a personalised message. For example, the replace string {InitiatingUserFirstName} will identify the student's first name and use that instead.
6. Write the email message. You can use the replace string {InitiatingUserFirstName} to personalise the email with the student’s first name.
Sample text:
"Hi {InitiatingUserFirstName},
It is great to have you enrolled in {OrgUnitCode}, but we haven't seen you there for some time.
Please let us know if you require support in accessing the space."
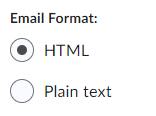
7. Ensure that the email formate is selected as HTML.
8. When complete, select Save and Close.