

Creating a Poll in Zoom
This guide will take you through the steps of creating a poll in a Zoom virtual classroom as the host.
If you are not the host of the session, you will not be able to create a poll during the session.
| Polls can be created in a session if you: | Polls cannot be created in a session if you: |
|---|---|
| * Are the host | * Are not the host |
| * Have had the meeting scheduled for you. | * Are an alternative or co-host |
| * Start the meeting from VU Collaborate | * Start the session from the Zoom app |
| * Start the meeting from "Schedule a meeting" on the Zoom website | * Start the meeting from "Host a meeting" on the Zoom website |
Polls can be used when you are an Alternative Host, only if the original host (creator) of the session creates and imports polls within each session before they begin.
On this page:
- Create Zoom Poll during a meeting
- Launch Zoom Poll
- Download Zoom Poll Results
- Pre-creating a Zoom Poll before your class
- Creating an Advanced Zoom Poll or Quiz
Create Zoom Poll during a meeting
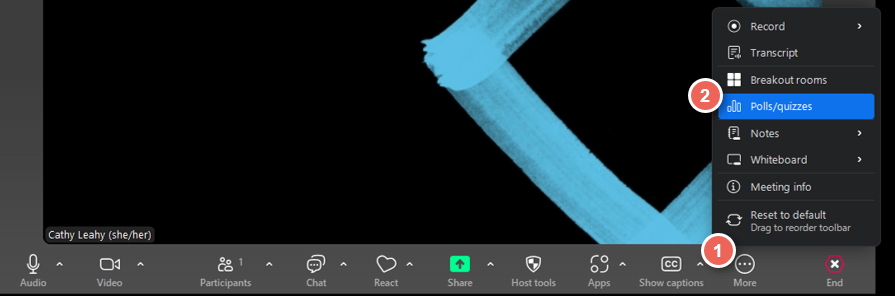
1. From your Zoom meeting control, look for the Polls / Quizzes option.
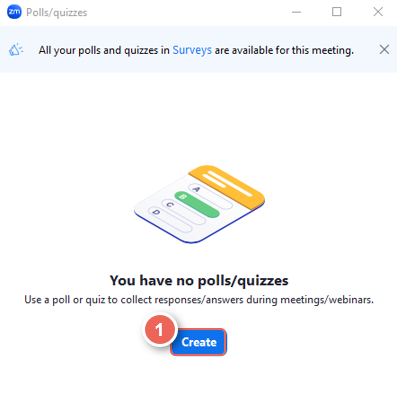
2. A popup will appear, click on Create button to create new,
Or Launch your existing questions.
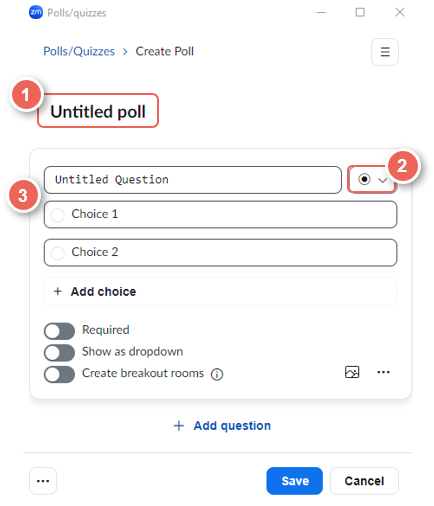
3. A blank poll will be ready for editing.
- Click on the title 'Untitled Poll' to give the poll a name.
- You can also select another Poll type (multi-select, matching...)
- Fill out the question and relevant choices.
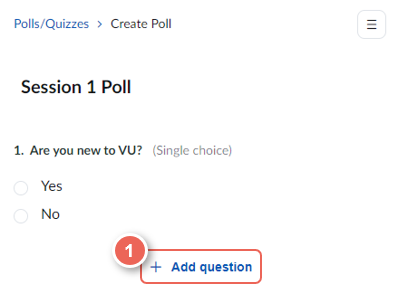
4. You can add more questions to your poll by selecting + Add Question.
5. Delete or Duplicate any question by clicking on the 3 dots (...) option underneath the question and its answers.
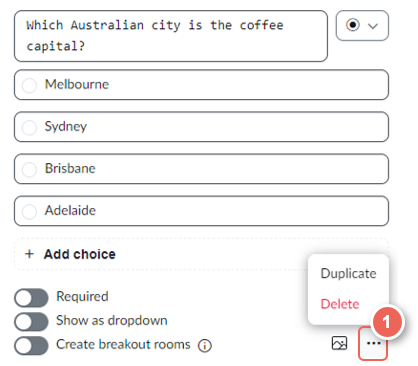
6. You have the option to keep results completely anonymous.
To do this, select the three dots (...) on the bottom right of the screen.
Results shown during the session will not show student names with responses.
However, Poll reports can be generated afterwards to show the names of the people who have responded.

7. Once done, select Save.

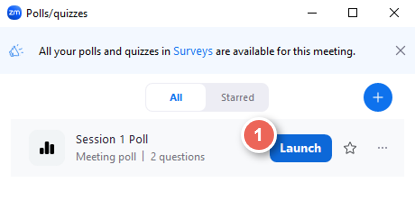
Launch Zoom Poll
1. After finishing the creation step, click on the Launch button to open the Poll.
Whilst participants are answering the poll questions, you will be able to see the amount and percentage of participants who have responded.
2. Once all ( or most ) participants have completed the poll, select End Poll to close the poll for all.

3. The result will show up for you as a host, but not to participants.
To share these results with participants, select Share Results.

To stop sharing with participants, select Stop Sharing.

Download Zoom Poll Results
You can also export the results from the Poll as a CSV file,
which can be done either within the meeting, or from VU Zoom Portal.
See the instructional video from the Zoom team below.
Pre-creating a Zoom Poll before your class
You can also prepare and upload poll questions before a class using a .CSV template file.
Download Poll template
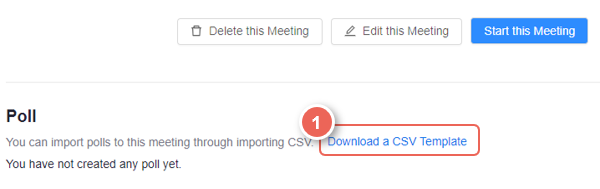
1. When scheduling a Zoom Classroom, you will have an option to upload a Poll at the bottom of the page.
Click on the 'Download a CSV Template' link to download the template.
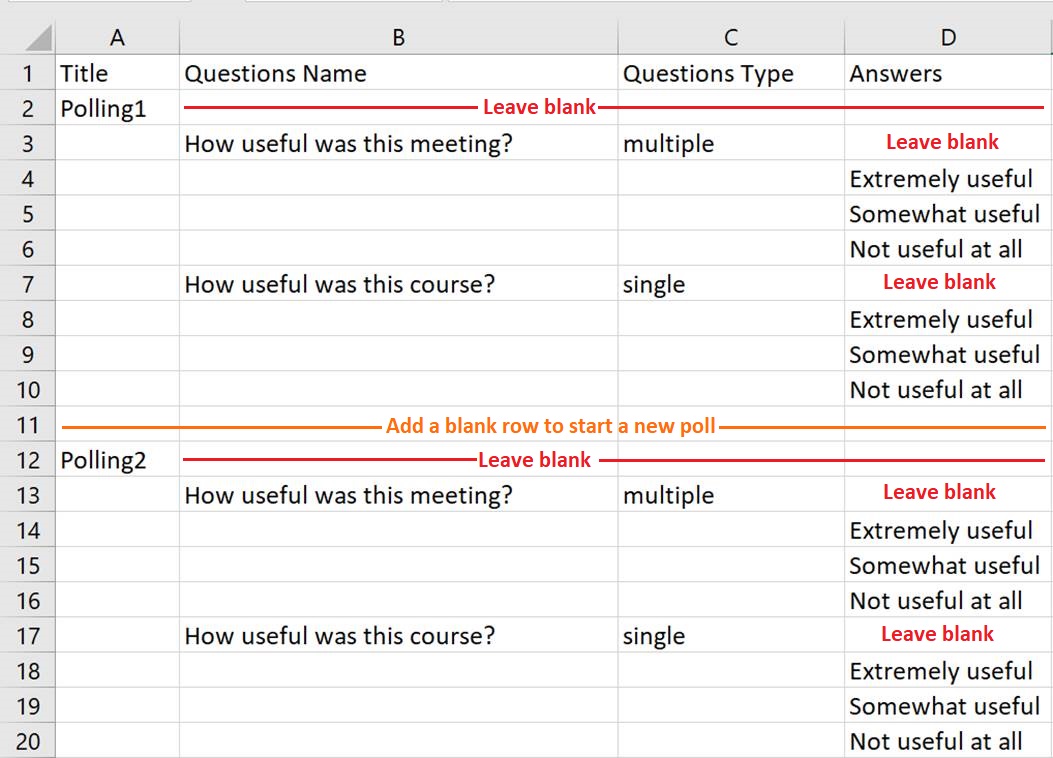
Note: The CSV formatting determines the style and number of poll questions.
- For multiple questions within a poll (e.g. Polling1), do NOT leave a blank row between each question.
- If you have multiple polls in one session, ensure a blank row is added between each Poll (see example below).
2. Fill out your questions and selections, and then save it as a CSV file.
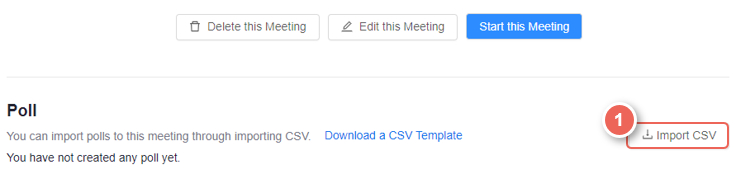
Import Poll template
3. Once done, upload the file using Import CSV next to the download template option.
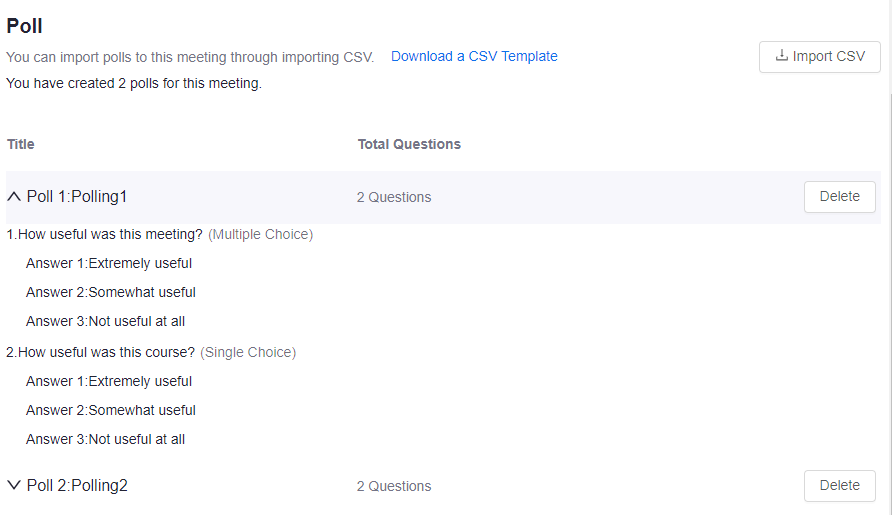
Preview Poll Questions
4. You can also preview the polling questions to check all the questions and selections.
Creating an Advanced Zoom Poll or Quiz
Advance Polls can be created before or during a Zoom session, and provide a wider range of questions (single choice, multiple-choice, matching, rank order, short answer, long answer, fill in the blank, rating scale and quiz). To learn how to create an Advance Poll see the Zoom guide Advanced polling and quizzing for meetings.
See the instructional video from the Zoom team below.