Creating a News Item
You can use the News tool to post updates and communicate with all students enrolled in a space. News items are displayed on the homepage of the space.
They can also be accessed in the Communication menu by clicking News. This guide explains how to create News items and publish them in your space.
Related guides:
Watch how to Post News in VU Collaborate
View the guide in Full Text view
Accessing the News area
1. On the navbar, select Communication and then News.
This will open up the News area, where you can view all of your current and previously created news items.

Creating a News Item
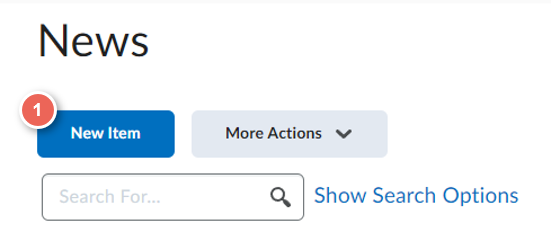
1. Select the New Item button from the top.
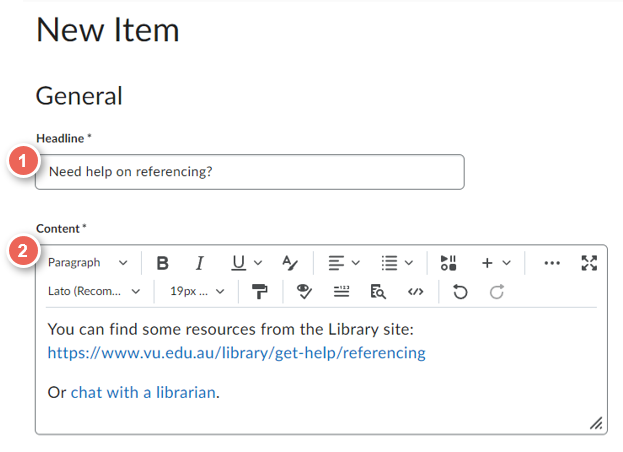
2. Fill in the information:
- Headline: title of the news
- Content: enter your news details.
You can add photos, links, and other multimedia item from the options. See Using the VU Collaborate HTML Editor for more details.
You can use strings such as {FirstName}, which will automatically customise and display the student's first name. For example “Hello {firstname}” will read as “Hello Cat”, if the student reading the post is named Cat. View the complete list of replace strings available.
3. Remember to save to avoid losing your work.
Select Save as Draft button at the bottom to save at any time (this will not publish your news to the unit space).
Or, you can Publish if the news is ready.

Setting Post Availability
You can schedule a news item for release on a particular date and time, or hide it after a certain period.
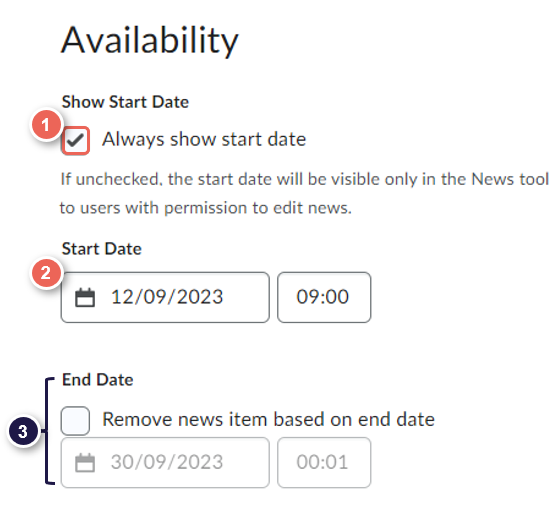
1. Scroll down to the Availability section to view the start and end date options.
- Always show start date: ticked by default to display the start date to all students.
- Select a Start Date to specify the date and time when your news item is to be published.
- To hide your news after a certain date, tick Remove news item based on the end date, then select an End Date.
Optional Options
Attaching Files or Audio
You can add attachments to a News item for students to download or view if applicable.
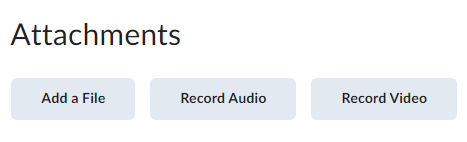
1. Scroll down to the Attachments section and select the type that you would like to attach.
Some options are to Add a File, Record Audio, or Record Video.
If you are recording audio or video, you will need to allow VU Collaborate to access your microphone and/or camera.
2. When finished, click the Add button to insert the attachment into your News item.

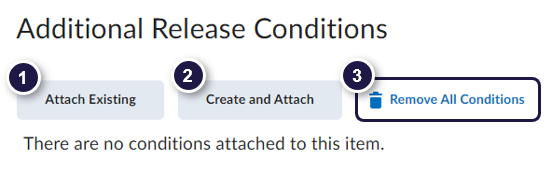
Adding Release Conditions
Release conditions allow you to display the news post to students based on a given condition,
such as their tutorial group or grade received on an assessment task.
- Attach Existing: to select an existing condition that was previously created in your space.
- Create and Attach: to create a new one.
- Remove All Conditions: to delete all conditions that have been added to the current news item.
See Using Release Conditions to learn more.