

Create and edit an Assessment Dropbox
Dropbox provides an online location for students to submit assessments and receive grades and feedback.
Set up a Dropbox folder for each assessment, select submission dates, file types, individual or group submissions and more.
On this page:
- Create a Dropbox
- Enter a Grade and Link to a Grade Item
- Dates and Availability Conditions
- Submission and Completion settings
- Evaluation and Feedback
- Rubric
- Learning Objectives, Annotation Tools, and Anonymous Marking
- Turnitin Similarity Check
- Dropbox Visibility
- Creating a Text Only Dropbox
Create a Dropbox
1. In a unit space on the main menu, select Assessments, then Dropbox
2. Create a new Dropbox folder, or edit an existing Dropbox.
Create a New Folder
a. Select New Folder.
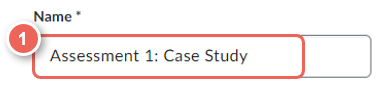
b. Enter a Name (1), using the same name as the grade item and rubric.
Edit an existing Folder
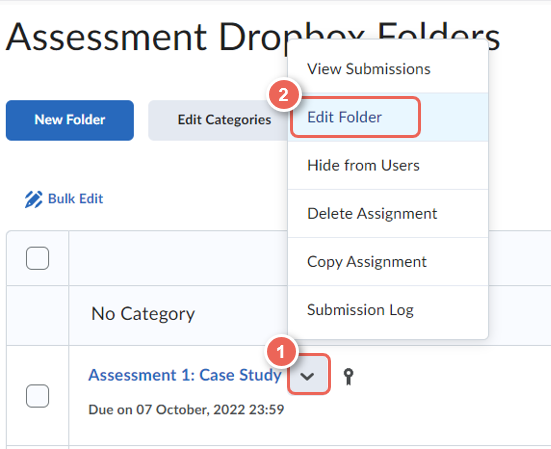
a. From the Dropbox name menu (1), select Edit Folder (2).
Enter a Grade and Link to a Grade Item
Link to Existing Grade Item
In this step, it is recommended to link to an existing grade item to ensure the weighting is correctly set, see Creating a Grade Item.
A new grade item with the default weight of 10% is created when no grade item is selected.
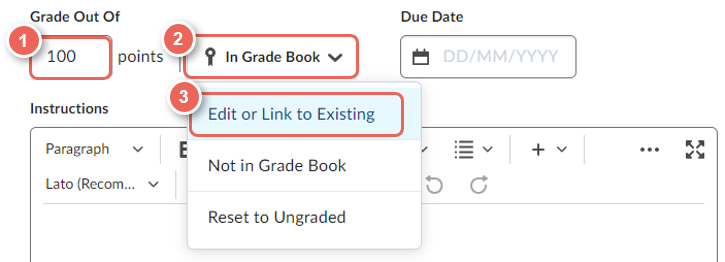
1. In Grade Out Of, enter the Total Points (1) the assessment will be marked out of.
Total points may differ from the total weight, for example, an assessment (and rubric) marked out of 100 points, can have a total weight of 25% for the unit.
2. From, In Gradebook (2) select Edit or Link to Existing (3).
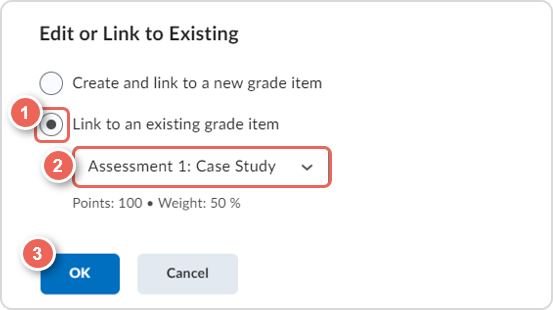
3. In the pop-up window, select Link to an existing grade item (1) then select the required grade item (2) from the dropdown list.
4. Select OK (3) to confirm.
Dates and Availability Conditions
Due Date (set in the delivery space)
Due date is the date and time when a submission is due, past this time a submission will be marked as late.
1. From Due Date (1), enter a date in DD/MM/YYYY format, or select date (2) from the mini calendar.

Start and End Dates (set in the delivery space)
2. Expand Availability Dates & Conditions (1).

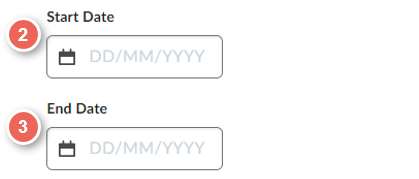
3. Select start and end dates
- Start date (2) - first time assessments can be submitted
- End date (3) - last time assessments can be submitted
Release Conditions and Special Access (set in the delivery space)
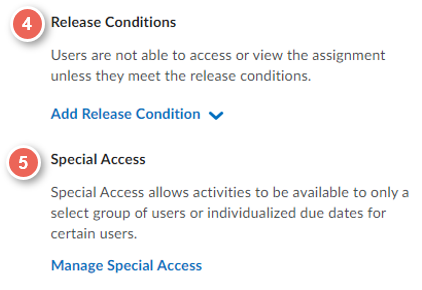
- Release Conditions (4) - students cannot access or view the Dropbox until the release conditions are met. See Using Release Conditions for more information.
- Special Access (5) - provide access to either
(a) only a select group of students i.e., one class, or
(b) individualised access for select users, that differ from the rest of the class i.e., an extension of the due date. See Add Special Access for more information.
Submission and Completion settings
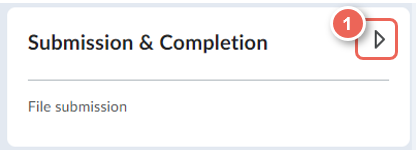
1. Expand Submission & Completion.
Assignment Type (group or individual)
Group Assessments
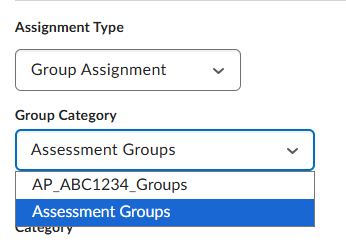
A Group Category must be created before creating a Group Submission Dropbox, see Creating Groups.
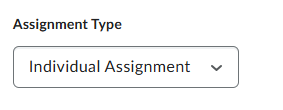
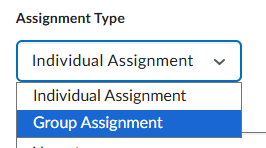
2. Select an Assignment Type.
Option 1: Individual Submission
By default, an Individual Assignment will be selected. This option allows students to submit their assessments as individuals.
Option 2: Group Submission
Group Assignment, allow any member to submit, and all members to view the grades and feedback.
When selecting a Group Category, don't select any that begin with AP_ i.e., ABC1234_Online. Class groups would result in one submission per class, with any student being able to submit and all students being able to see grades and feedback.
Submission Type
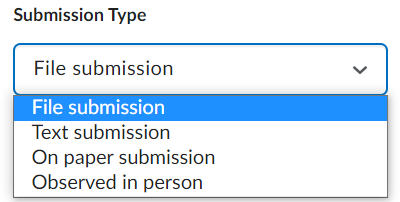
3. Select submission type
- File submission: Students upload their assessments to the Dropbox folder.
- Text submission: Students enter their assessment in a text box. Useful when you need a link to a site or resource, such as a website or Panopto video.
- On paper submission: Students completed a paper-based assessment and don't need to submit anything. The Dropbox is used to provide grades and feedback.
- Observed in person: Students completed their assessment under the observation of an assessor and didn't need to submit anything. The Dropbox is used to provide grades and feedback.
Files (number and types)
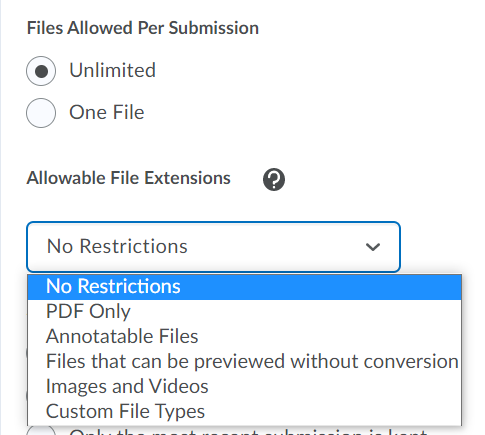
4. Control how many files students can submit at any one time in the Files Allowed Per Submission setting.
5. You can also set restrictions for file extensions on specific assessment submissions in the Allowable File Extensions setting.
- PDF only: only PDFs can be submitted.
- Annotatable Files: refer to Using the Annotations Tool to Provide Feedback on Dropbox Submissions guide for more information.
- Files that can be previewed without any conversion: .HTM, .HTML, .MHT, .MHTML, and .BMP
- Images and Videos: JPG, JPEG, PNG, GIF, BMP, TIF, TIFF, SWF, MPG, MPEG, RM, MP3, MP4, M4V, M4A, AVI, WAV, RAM, ASF, MOV, RA
- Custom File Types: enter a specific file extension that is allowed for assessments i.e., ".TXT".
Submissions
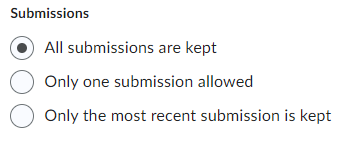
6. Choose if students can re-submit to the Dropbox Folder through the Submissions setting.
- All submissions are kept: Students can re-submit as many times as they desire, showing all previous submissions to teaching staff.
- Only one submission allowed: Students are not able to re-submit to the Dropbox folder.
- Only the most recent submission is kept: Each time a student submits to the Dropbox folder, it replaces the previous submission.
7. You may enter your staff email or other email types to receive notifications when students submit a file or document into the Dropbox.
Evaluation and Feedback
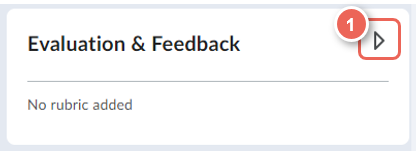
1. Expand Evaluation & Feedback.
Rubric
Rubric
In this step, it is recommended to link to an existing Rubric. If the rubric has not yet been created, see Rubrics.
1. To assist in the evaluation, marking and providing feedback for student submissions, you can use a Rubric.
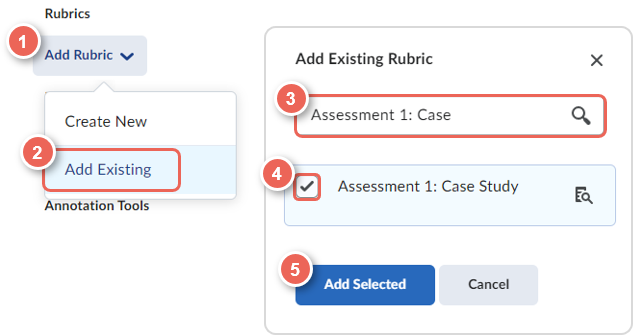
2. Select Add rubric (1), then select Add Existing (2).
If a rubric has not yet been created, see Rubrics.
3. You can Search (3) to locate your rubric, tick (4) to select, then click Add Selected (5) to attach the rubric to the Dropbox.
4. Once the rubric has been added you can expand inline, to see what it will look like when evaluating a student's assessment.
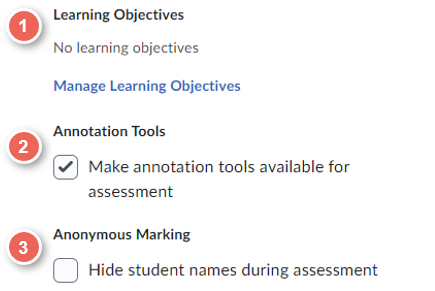
Learning Objectives, Annotation Tools, and Anonymous Marking
- Learning Objectives (1): Learning Objects attached to the assessment. Select only if required.
- Annotation Tools (2): Enables annotation for the submitted document. Keep selected.
- Anonymous Marking (3): Allows for making assessments without knowing the student's identity.
This is not recommended, especially if you need to follow up with a student after grading.
Turnitin Similarity Check
Turnitin Similarity Check see Enabling Turnitin Similarity Check for more information.
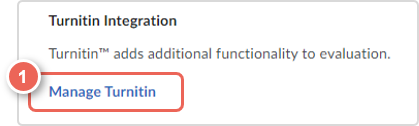
Manage Turnitin
1. Save your Dropbox before enabling Turnitin, or you may receive an error message.
2. Scroll to the bottom of the Evaluation & Feedback panel and select Manage Turnitin.
3. See Enabling Turnitin Similarity Check for more information.
Dropbox Visibility
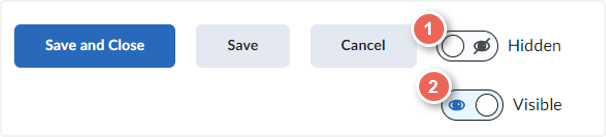
New Assessment Dropbox folders are hidden from student view by default. To ensure that students can see the Assessment Dropbox:
1. Scroll to the bottom of the page, and then toggle the visibility from Hidden (1), to Visible (2).
Use Case - Creating a Text Only Dropbox
A Text-only Dropbox restrict assignment submissions to text that can be entered in the submission process. This can be useful when you require links from students to files hosted outside of VU Collaborate, such as to a website or if the assignment is a video. The method for creating a text-only Dropbox is very similar to creating a regular Dropbox and only requires a slight change in the submission type.
1. Expand Submission & Completion.
2. From Submission Type select Text submission.
3. If you have finished creating your Dropbox, select Save and Close.