Introduction to H5P
H5P is an open-source software integrated within VU Collaborate, which allows you to easily create interactive content which can form an essential resource. You can use H5P Learning Objects to create, share and reuse interactive content to engage students and stimulate their learning within VU Collaborate.
This guide explains the basic settings and links to guides, to assist you when creating your own H5P learning object.
Access and Manage H5P from VU H5P Dashboard
Once you activate your H5P account, you can access and create H5P activities from the H5P Dashboard.
Follow this link vu.h5p.com (external link) to access the H5P Dashboard, which we recommend bookmarking on your browser for faster access in the future.
Overview of H5P Dashboard
H5P Dashboard is a site where you can access and manage all of your H5P content before embedding it into learning spaces.
Here you can create, view, edit, insert, move, clone or delete learning objects.
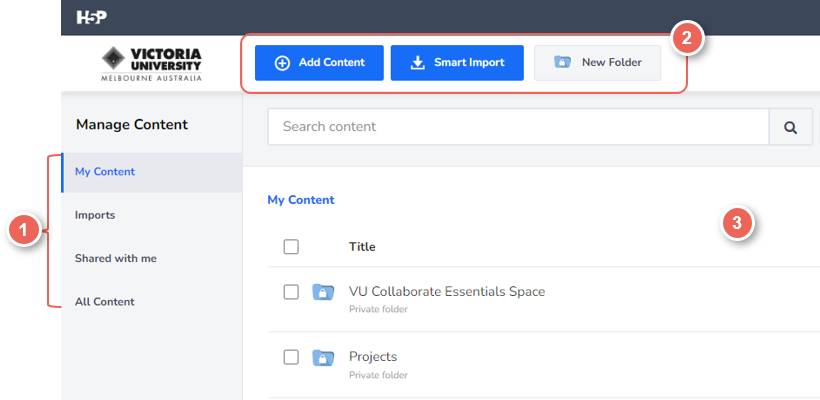
The landing page of the H5P dashboard displays:
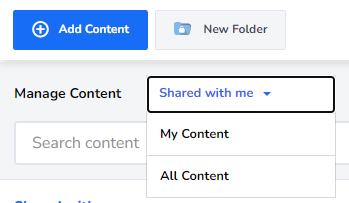
- (1) Manage Content:
- My Content: to view or manage all H5P activities created by you.
- Imports: to generate and manage the Smart Import feature (see H5P Smart Import)
- Shared with me: all H5P activities created by your colleagues or other VU staff.
- All Content: all content, including Public content, your content and shared with me content.
- (2) Quick access:
- Add Content: add a new H5P activity.
- Smart Import: generate smart import feature.
- New Folder: create a new H5P folder for organising purposes.
- (3) A list of existing H5P activities
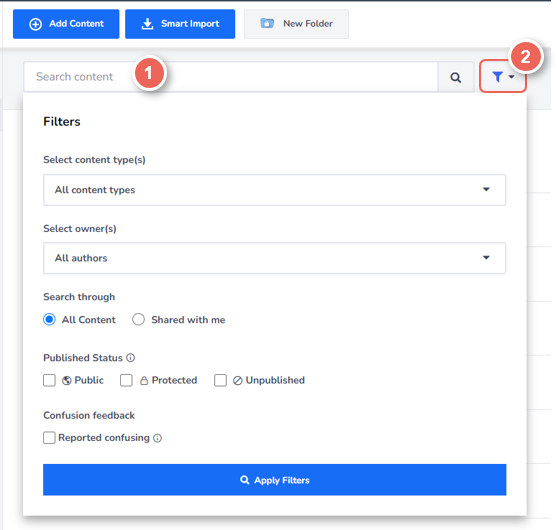
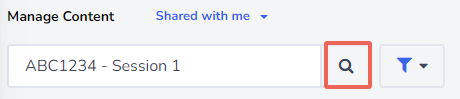
The search bar (1) allows you to search for an H5P activity by entering a keyword (e.g. the title of your H5P).
You can also select Filter the list (2) to find specific content.
Within the list of H5P activities:
- (1) Activity title and content type (e.g: Academic Integrity - Interactive Book)
- (2) Edit: allows you to modify the activity.
- (3) More Options: access other options such as Clone, Move, Delete and Share (see the next step for more details).

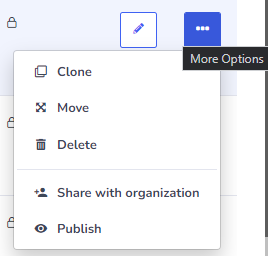
More Options
Select the three dots to view more actions for each H5P activity.
- Clone: make a copy of your activity. Any changes in the cloned activity won't affect the original one.
- Move: move and arrange an H5P to a folder.
- Delete: remove the activity. Note that this process cannot be reverted, be mindful of what content you are removing.
- Share with organization: to share H5P contents within the university or with other VU staff members.
- Publish: to change the status of H5P.
Creating H5P Learning Objects
Note - For best practice, always create your H5P activity from the VU H5P Dashboard to ensure all changes are saved properly.
All files created/shared using H5P can be accessed through all your unit spaces. It is linked to your user account, not your unit space.
Add New H5P content
1. Select Add Content button at the top of the page.

2. The 'Create New Content' screen will appear:
- Create Content
or Upload an existing H5P (in .h5p format) from your device. - You can search for different H5P types in the search field, e.g. Flashcards.
- Or select Details to view descriptions and examples of each type.
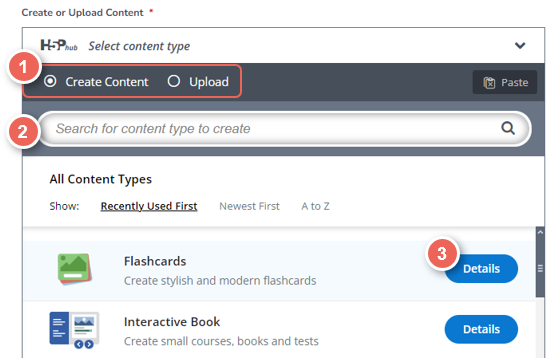
3. To create a content type, click on the tile of that H5P (e.g. The Chase).

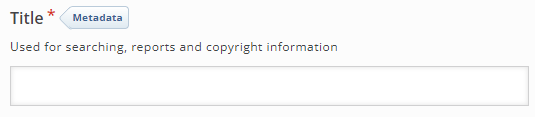
4. Give your activity a Title (e.g: ABC1234 Session 1: Introduction to...)
Naming convention- choose an easily identifiable title, such as your unit number followed by the topic/activity name.
This will make it easier for you to locate this object and share it with your colleagues in the future.
Refer to the Full List of H5P Tutorials to see step-by-step instructions for each H5P type.
H5P activity settings
This is an optional step, you can leave these settings by default or make alterations if applicable.
To access activity settings, scroll down to the bottom of your activity:
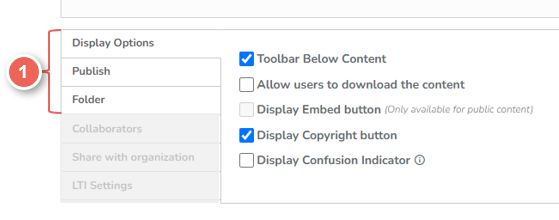
- Display options: you can tick
- Allow users to download the content - enable students/staff to export the activity into a .h5p file to their computer.
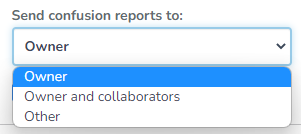
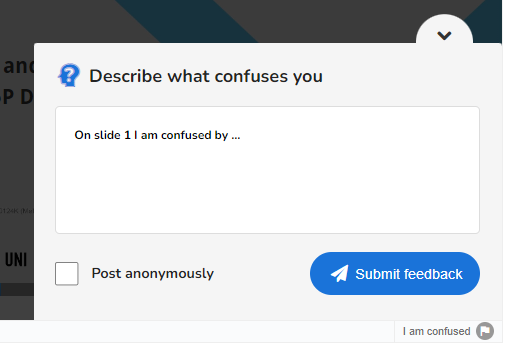
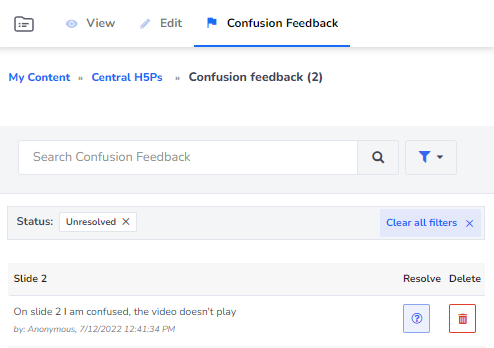
- Display Confusion Indicator - allow students to give feedback (can be set as anonymous) directly to your activity.
- Publish: to change the privacy
- Unpublished (content can not be inserted into unit space),
- Protected (content can be inserted into unit space). Default and most frequently used setting.
- Public (content visible to everyone within and outside VU, can also be used for Game Code).
- Folder: move or organise the activity into the desired folder.
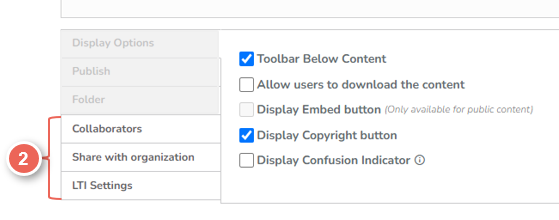
- Collaborators: add another staff member to give them access to modify your activity.
- Share with organization: place the H5P into a public folder that is available to the whole organisation.
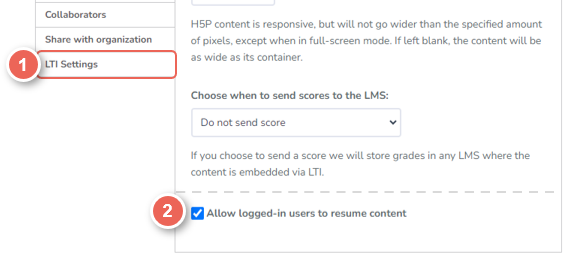
- LTI Settings: to link H5P to VU Collaborate grade book.
To set the H5P as an assessment and send results into gradebook, contact This email address is being protected from spambots. You need JavaScript enabled to view it. for more instructions.
Once completed, select Save to apply the changes.

Next step: Refer to Inserting an H5P in VU Collaborate
Finding Shared H5P Activity
From VU H5P Dashboard
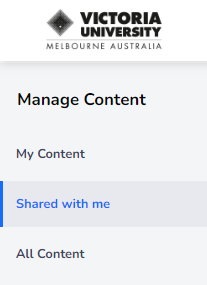
Select Shared with Me from your left screen.
From VU Collaborate Insert Stuff
Select Shared with Me from the dropdown menu next to Manage Content.
2. Type in the keyword or title of the H5P that you're looking for (i.e: ABC1234 Session 1 Presentation)
3. Press Enter from your keyboard or select magnifying glass icon.
If you are having trouble finding a learning object, contact the original creator of your activity to ensure that it has been shared.
Advanced H5P Features
There are additional H5P features that assist you in improving your activity and can give you valuable data to help understand and respond to your students' progress.
Click on each panel below for more details.

Fixing broken H5P activities
What do you do when students can't see the H5P but you can?
At times, links may appear broken in spaces during the creation stage or when the activity is not copied correctly between the spaces, leading students to not be able to access the interactive tools.
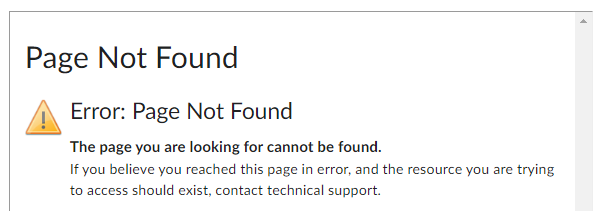
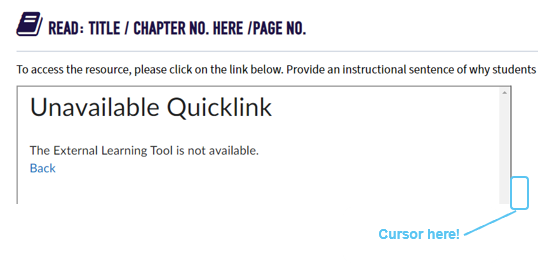
The error messages vary, but common ones are ‘Unavailable Quicklink’ or 'Page Not Found'.

Note that - You may be able to see the activity from your end because you have higher access to VU Collaborate from students.
When this happens, you will need to re-insert the H5P again in the space.
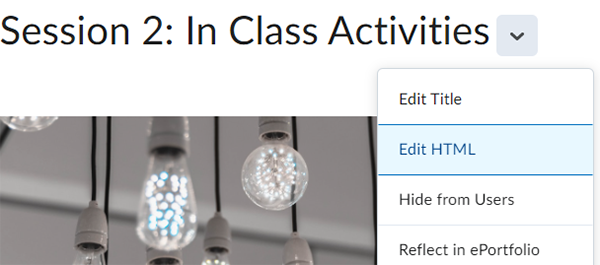
1. Navigate to the module or page where the H5P is not available for students
and select Edit HTML from the dropdown menu.
2. Delete the broken activity by placing your cursor next to the activity,
and press Backspace or Delete from your keyboard.
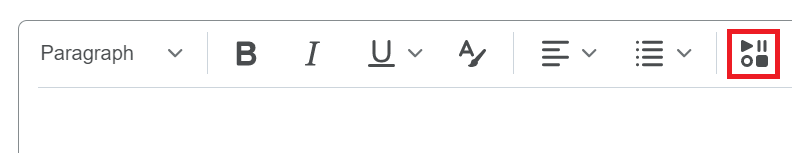
3. Once removed, click on Insert Stuff to re-embed.
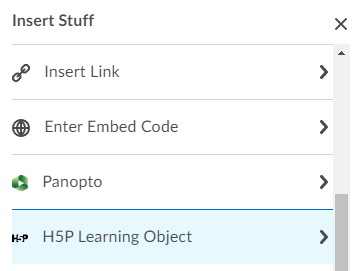
4. Scroll through the options and select H5P Learning Object, then select the H5P activity from the list and click Insert.

5. Within the Preview screen, select the Insert button at the bottom to confirm the action.

6. Once you have inserted the H5P, click Save and Close to save the H5P into VU Collaborate.